Painting Mobile Home Walls With Style
Updating your mobile home can seem like quite a big challenge. Often the greatest hurdle to overcome is just the idea of updating or remodeling itself. From painting mobile home walls to moving your mobile home to land, the choices are endless.
A whole host of questions start begin swirling around, “What should I do? Where do I begin?”
At some point in your remodel process, you should ask the question, “Can I paint my mobile home walls?” Perhaps you’ve never done it before, or you’re not sure about the specific type of wall in your mobile home, or maybe you don’t know what supplies are needed and what kind of paint should be used.
Good news! We plan on walking through all these aspects together.
Painting Basics
Supplies
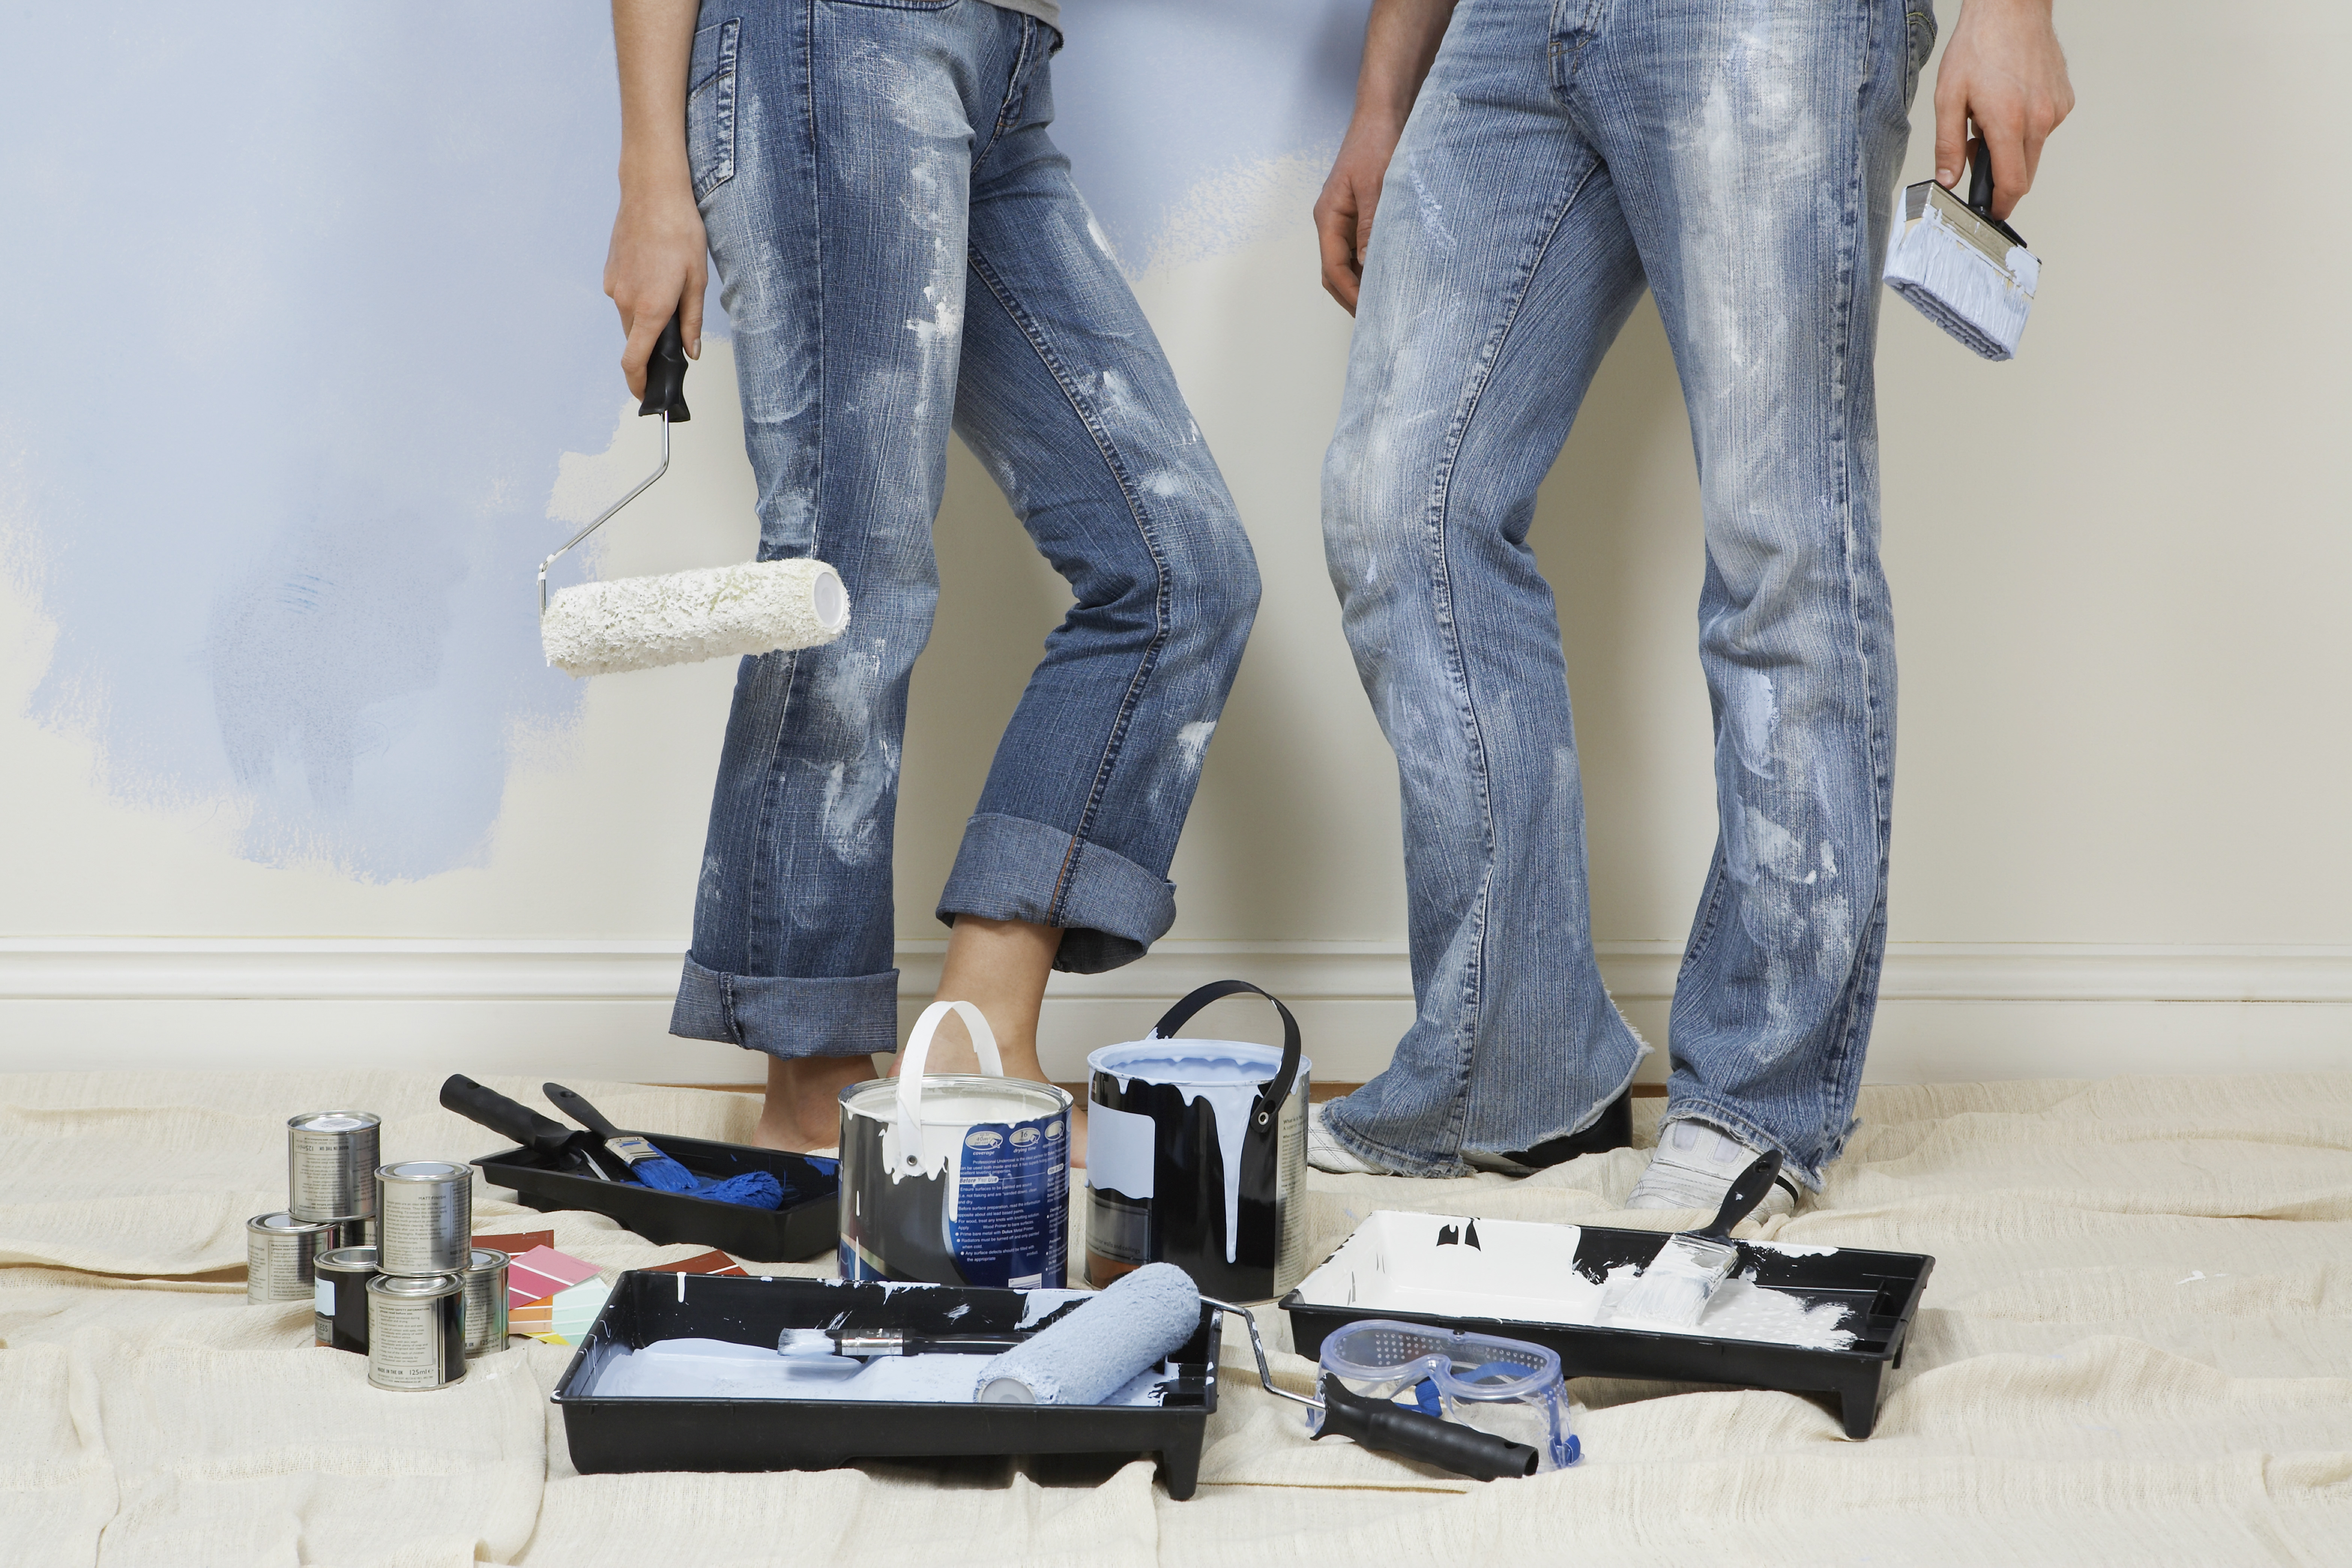
Before you even begin painting, make sure you have all the supplies you need. You can always find check-list online like this site. The last thing you want to do is stop your painting halfway through to go back out to the store. So get your toolbox ready, we’re about to fill it! We’ve listed these supplies in the order in which you will use them, so this list goes hand-in-hand with our setup to-dos (read on for more details).
- Tape measure- You are going to want to measure your walls for the correct dimensions of the space you are painting. If you know the measurements, you’ll know how much paint to buy.
- Drop cloths- Even though plastic drop cloths are quite common, it is actually better to use reusable canvas drop cloths for the floor. They are less likely to slip or slide when you are walking them. Plastic is usually cheaper, so go ahead and use plastic coverings to protect your furniture.
- Screwdriver- You will need this to loosen the ceiling plates of any light fixtures and to remove light switches/outlet covers before beginning the painting process.
- Sponge- Make a solution of dish detergent (just a few drops will work) mixed with water. Wet the sponge and clean your walls before you start priming them.
- Hole filler- Cover up small holes with dabs of hole filler, which is much quicker than spackling.
- Primer- Get a primer that has stain blocker.
- Blue painter’s tape- Apply this on your trim and walls that you will not be painting.
- Angled sash paint brush- This will give you more control when you are painting trim work or along edges.
- Paint roller- An essential tool for painting large surfaces.
- Roller cover- Try using a ⅜” nap since it provides the best finish for most interior walls.
- Roller tray- It’s worthwhile to spend a little extra for a metal or sturdy plastic tray. You won’t have to worry about accidentally tipping over all your paint.
- Tray liner- Often a forgotten supply, a tray liner will save you some cleanup time.
- 5-Gallon bucket- This will be needed for those larger painting plans that will take multiple cans of paint. Another benefit is that a large bucket will allow you to mix multiple cans of paint for better color consistency.
- Pouring Spout- Attach this spout to a gallon of paint for pouring your paint into a tray without the mess.
- Screen- Place this inside of your bucket or can of paint. When you are dipping your hand brush, you use the screen to wipe off excess paint. Globs of paint…no thank you!
- Stirrer- Comes with most gallons of paint when purchased. Stirring your paint before actually painting is a must!
Over at RealSimple, they have a supply list with these same supplies. You can go there and use their helpful checklist feature integrated into their list.
Brushes vs. Roller

Is one better than the other? Should you expect to entirely support Mr. Roller for the rest of your life, and completely disown that dirty scoundrel Mr. Brush? The debate has lasted over the years.
Simply put…no! You need both in the big wide realm of painting. It’s definitely not an either-or issue.
A brush is perfect for tight spaces, edges, corners, and trim.
Rollers are preferred for painting walls and ceilings. Essentially, the paint roller is more efficient for larger surface areas.
When painting mobile home walls, the paint you use, or the texture of the wall you are painting, will affect the choice of roller covers and bristles you will use with either the brush or the paint roller.
Bore Painting Mobile Home Walls It’s Important You Tape Up The Rooms
Painting your mobile home begins with taping up your mobile home! Here are some helpful steps to get your house or room paint-ready.
Step 1: Make sure to buy the correct painter’s tape. The different rolls of tape are categorized by what surface they are designed for, such as drywall, metal, wallpaper, and wood.
FrogTape, Painter’s Mate Green painter’s tape, and Scotch blue painter’s tape are great go-to choices.
Step 2: Too much dust can make it very difficult for tape to stick properly to surfaces. To prevent wasting tape, and time from backtracking, simply take a damp cloth and wipe the surfaces where you are going to put the tape.
Do not be impatient. Let the surface dry before putting down your tape!
Step 3: When putting on painter’s tape to your precious surfaces, short-and-steady wins the race. Use only foot-long pieces.
If you use longer pieces and can lead to stretching the tape, resulting in paint possibly bleeding through your tape!
Step 4: Go ahead and tape of all of your surfaces; ceiling, door frames, floor trim, tile, etc.
Step 5: When taping trim, you might have excess tape due to its width. You can use this to better protect your horizontal edges.
Apply your edge of the tape to the trim as close to the wall as possible, and if you leave the extra tape sticking out like a roof overhang or gutter, it will catch any extra paint that falls, spills, or runs down the fall.
Step 6: Run your finger over every section of tape to make sure that the tape is sealed on every surface.
Step 7: While you are taping, if you come to a corner, you should cut two strips of tape with a 45 degree-angle. Fit the two pieces properly together for safe and secure corners!
Step 8: Cover other areas you want to protect from being painted by laying down drop cloths, paper, or plastic.
A more detailed guide for taping a room off before you begin painting mobile home walls can be found here.
Setup
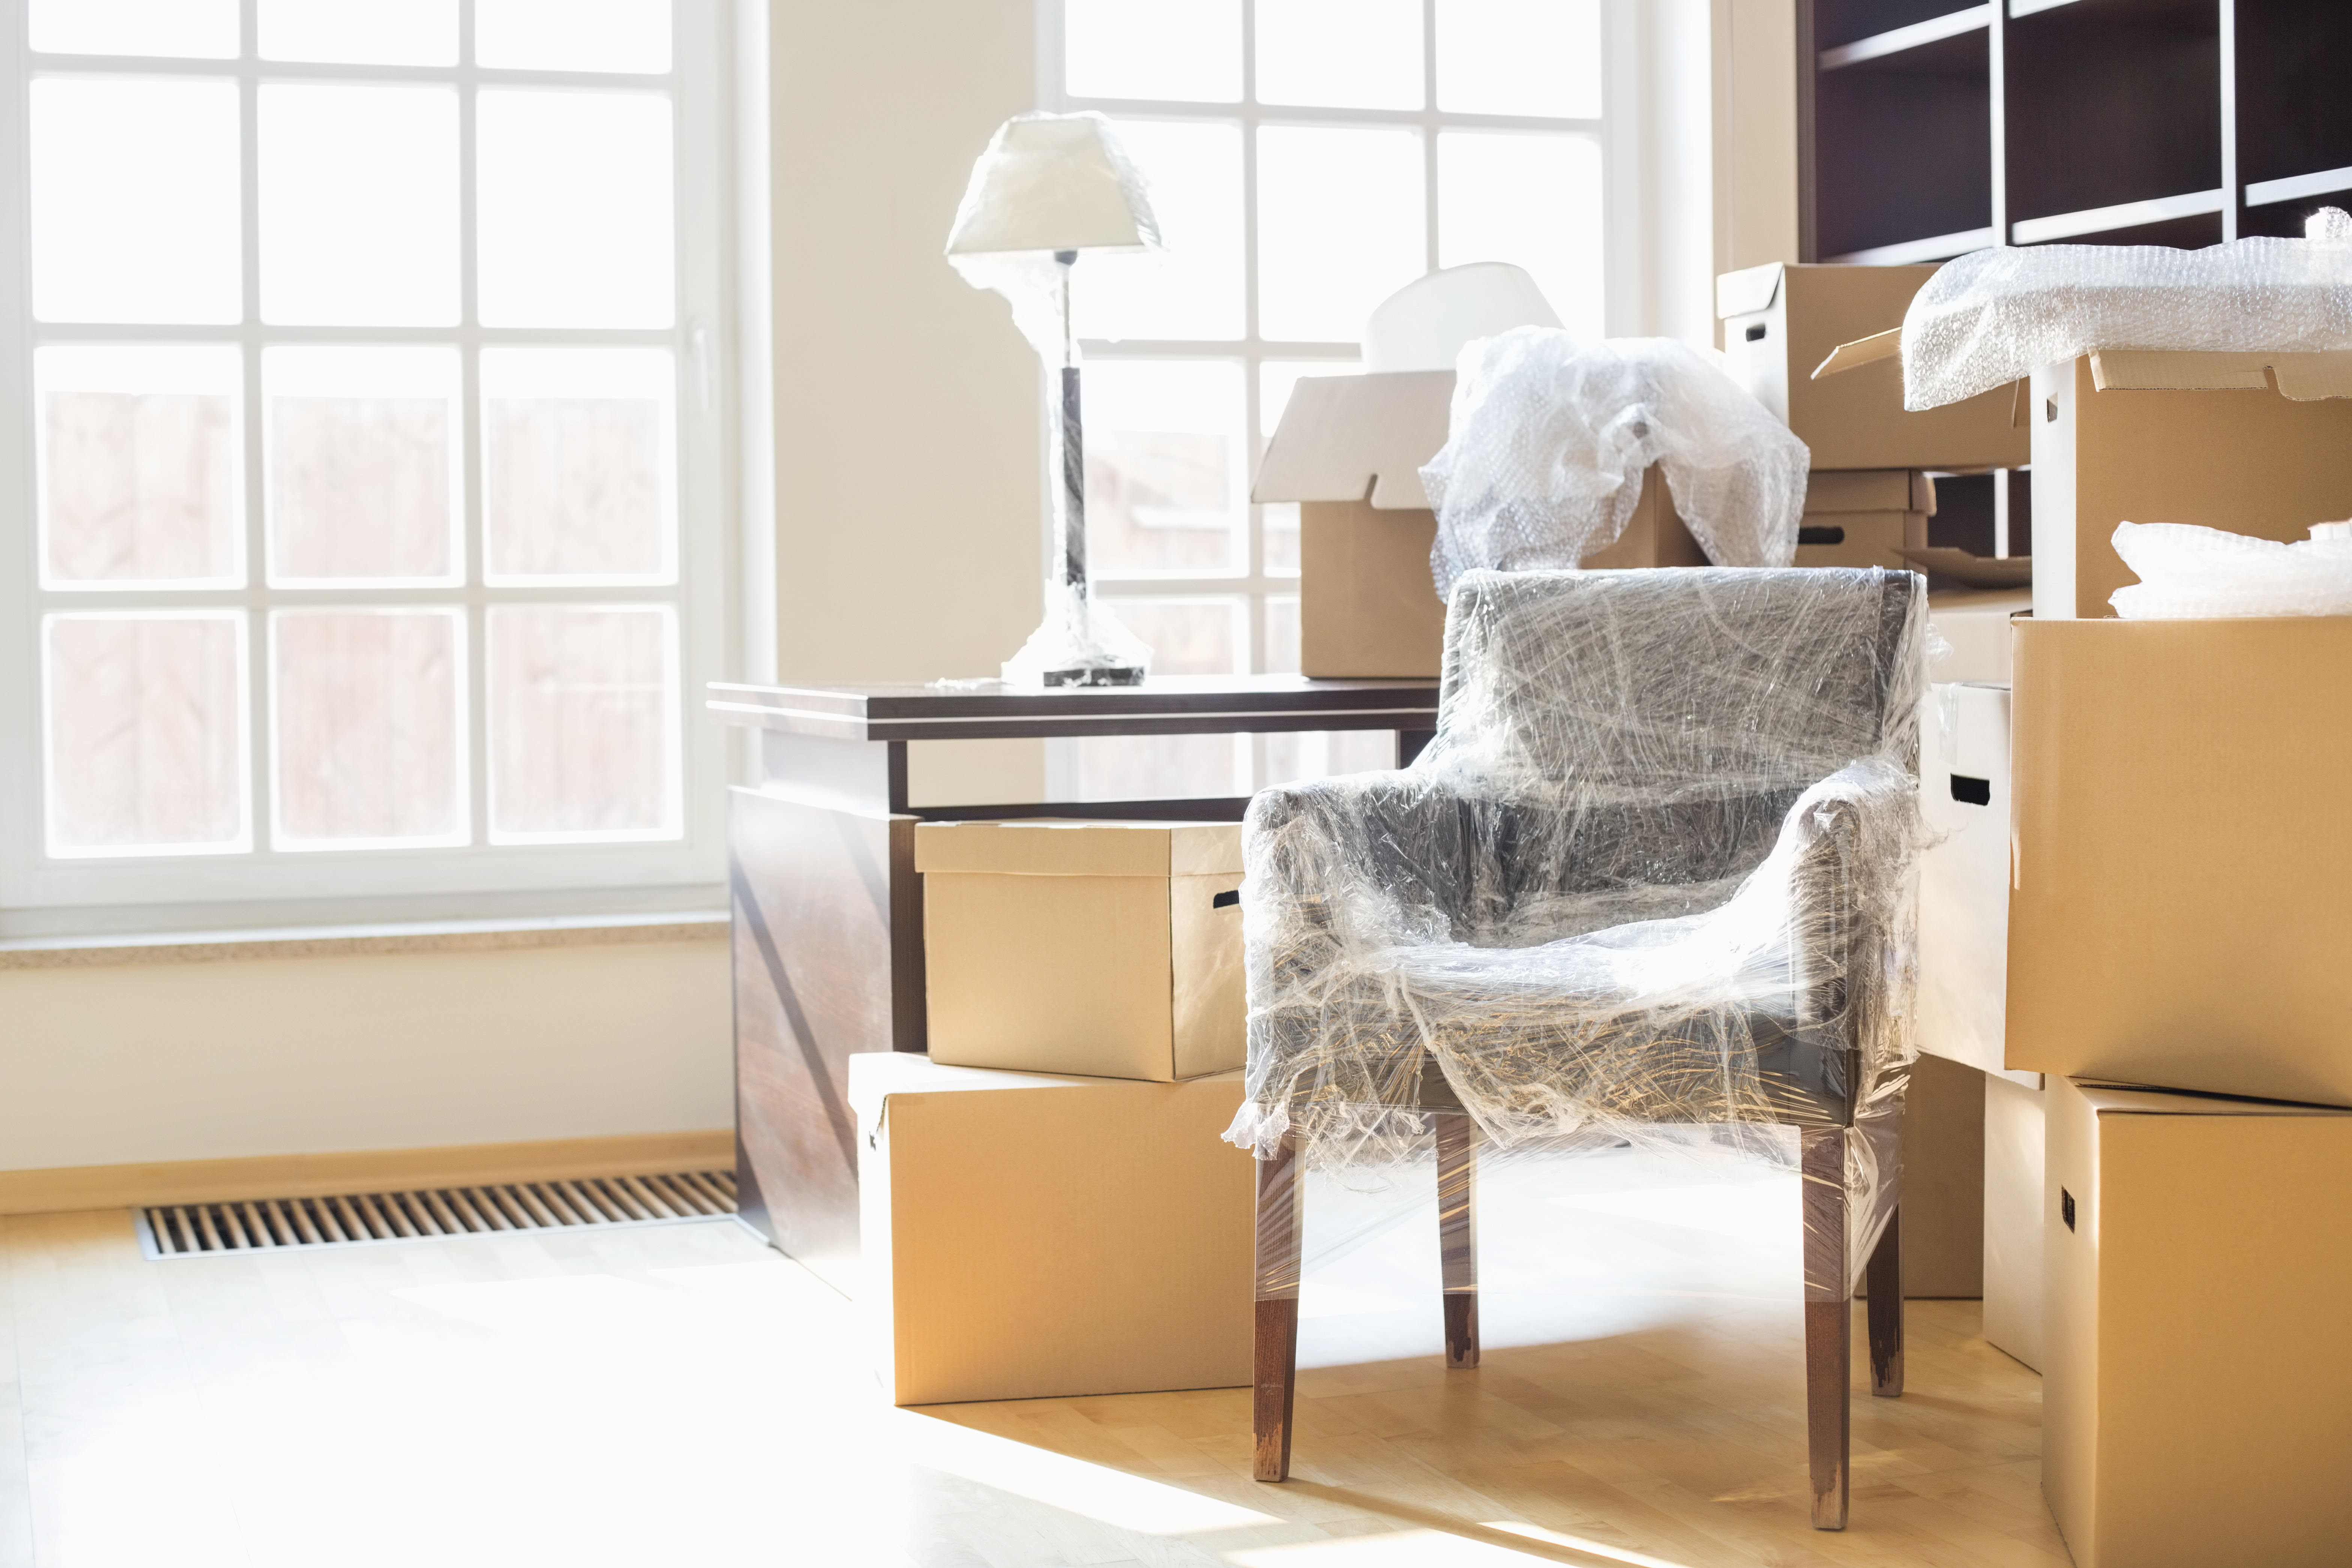
Taping, even though it has many steps, is only one step in preparing a space for painting. Here are some other steps to get you ready!
Step 1: Remove furniture from the area you are painting. Besides the possibility of getting paint splatters on your furniture, leaving them in your room could also be dangerous.
Move them so that you have room to paint all the surfaces you need to reach, and also so you won’t trip and hurt yourself!
You can either move them out of the room, or if you have a bigger space, into the middle of the room.
Step 2: Lay down drop cloths to protect your floors. Remember that we recommended reusable canvas drop cloths. They are sturdier and absorb paint so the likelihood of trailing paint through the rest of your mobile home is lessened.
Try painting barefoot too. Then you know if you stepped in wet paint!
Step 3: Remove paintings, picture frames, and posters from your wall. It is easier and quicker to take them down than trying to paint around them.
Step 4: Clean the walls with your sponge. Remember, only use a few drops of water mixed with a few drops of dish detergent.
Step 5: Fill small holes in your wall with your hole filler.
Step 6: Remove your light switch and electrical socket plates. Again, it is easier to take them than painting around them.
If you are also painting your ceiling, remember to remove lighting fixtures and fans.
Step 7: Tape up your room so that the surfaces you do not want painted will be protected. Make sure not to accidently tape the walls you are painting, otherwise, you will have surprise round of peek-a-boo with your old wall color.
Step 8: The next thing to do that will really set your prep a grade above the rest…make a staging area!
Set up space where you will store your open cans of paint, trays, brushes, rollers, etc. in the middle of the room you are painting, or just outside of it.
Save time by not misplacing items and moving around to five different places just to pour some paint.
Types of Paint

If you think grabbing your favorite shade of color is the only consideration you need when choosing paint, then stop right there!
All paints are not equal! Depending on what the surfaces of your interior walls are, certain paints will be better suited.
For those who are not familiar with the terms used while talking about painting, here are two keywords* we use below;
SHEEN/SHINE: The degree of luster of a dried paint film.
COVERAGE: The area over which a given amount of paint will spread and hide the previous surface. (Usually expressed in square feet per gallon).
*Definitions are from Central Coating.
Here are six different options you have to choose from:
Matte Paint: Often preferred for ceilings and walls that are not to be attention grabbing, as its finish doesn’t have a shine or sheen. Great for old houses because it’s excellent for covering imperfections. However, it easily gets marked up and takes multiple coats to produce a solid color.
Matte Enamel: More durable than matte paint, easier to clean, and hardly needs any retouching.
- Satin: Makes a soft sheen. Easy to clean. Not good for walls with imperfections, as it makes them more apparent.
- Eggshell: Eggshell finish has a shine, but not so shiny that it makes imperfections stick out like a sore thumb, which makes it a great interior paint. This paint also can cover well with only one coat!
- Semi-Gloss: More often used for trim than walls. Usually gives a good covering in one coat. Easy to clean with soap and water. Has a hard finish, making it great for heavy use.
- Gloss Paint: The most common interior paint, except for matte. This one has a very high shine, so it is often used on woodwork rather than walls. If used for walls, it will take more coats for a good coverage, it takes much longer to dry than paints with less shine.
Still have questions on which paint is right for you? Check out explanations of each type, and tips on which one to use for what rooms, at DoItYourself.
How To Begin Painting Over Different Surfaces?

The last thing to consider when selecting your paint is what kind you will need when painting over different types of surfaces. Here are some recommendations and tips for painting over the surfaces in your mobile home.
Drywall
Priming your unfinished drywall before painting is a must. It may be tempting to just apply more coats of regular paint, but paint won’t adhere to drywall very well. If your drywall is in good condition, then you may want to try self-priming paint. You won’t need to buy a separate primer and paint and you’ll only need to apply about two coats for an even finish.
Painted Walls
If you’re painting over already painted walls and the new color is close to the old color, then you can skip the primer. Just make sure to follow these setup steps above, then apply two coats of your new paint. If your new paint color is quite a bit different from the old color, then consider a self-priming paint as mentioned above.
Paneling
Paneling can make a room look darker or outdated, but you may not always be able to remove it without damaging your walls. Never fear, you can still paint over your paneling for a fresh new look. If you want a smooth even texture, then fill in the spaces of the paneling with wood filler. Click here for step-by-step instructions and a how-to video. If you just want an update look, then you can paint right over the paneling. Just be sure to prime it first or use a self-priming paint. If the panels are covered with vinyl, speak to a professional in the paint department of your local hardware store.
Wallpaper
Did you know you can paint right over wallpaper? No need to buy a steamer and go through the arduous process of peeling off strips of wallpaper. Make sure there aren’t any loose pieces of wallpaper. If there are, remove them with a utility knife. You will fix those areas after applying primer. Once the primer has dried, apply drywall compound to damaged areas. Sand it once it is dry, then apply another coat if necessary. Paint another coat of primer over the drywall compound.
Apply caulk around the edges of the wallpaper (where the ceiling and wall meet) and around any trim. Tape off your room and then apply two coats of paint. A matte paint is recommended as it will hide any imperfections in your walls.
Painting Ideas and Techniques
Check out homedit and diynetwork for some really sweet techniques, and some creative painting schemes!
[related_post themes="flat"]
