Mobile Home Maintenance Pt. 2 | Caulking Your Home
Mobile Home Caulking
The last post in our mobile maintenance series dealt with how to maintain your roof, whether metal or shingled, for long-lasting protection from outside elements.
Up next for mobile home maintenance is showing some “tender love and care” by caulking and sealing the seams all around your home. These almost invisible barriers do the hard work of keeping your home protected from insects, dirt and grime and whatever else you want to be kept out.
Caulking starts with you.
Let’s pretend that caulking, your home, and yourself are three pieces in a business. Healthy businesses have a shared vision, or goal, that all of the individual pieces of the business work towards. If you want a happy and comfortable living, your mobile home gives you that space to live your happy life, and caulk helps to keep your mobile home safe. Three pieces working together for the same goal; you, the house, and its sealant.
Bad caulking may not seem like a big deal, but if you haven’t caulked, or have not properly caulked, the various seals on your mobile home...it could cost you!
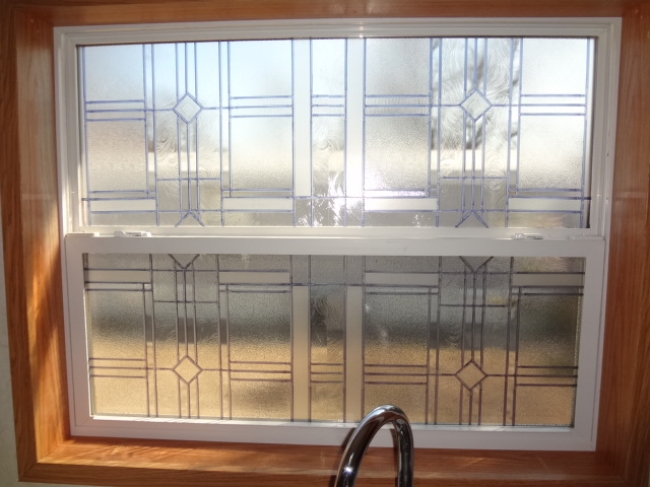
 Think about your windows. Gaps in between your window and wall could lead to expensive utility bills. Whether it is the summer and you are trying to cool down your house, or the winter and you are trying to heat up your home, gaps in your sealant fight against you. It makes your heating and cooling systems work harder.
You might say in response, “Cooling system, shmooling system, what’s the big deal?” The deal can be bigger than you think, higher utilities are just the beginning.
Some dangers of bad caulking are:
- Faster spreading of electrical fires.
- Roof leaks
- Wall damage due to improperly caulked windows and doors.
- Ugly paint jobs
“Okay. Okay. I get it, sealing your my home is important! But, how do I seal it? Are all sealants the same? Can I apply caulk at any time? Where should caulk in, or on, my mobile home?”
Hmmm… Good questions. Let’s try and answer them!
Where to Caulk?
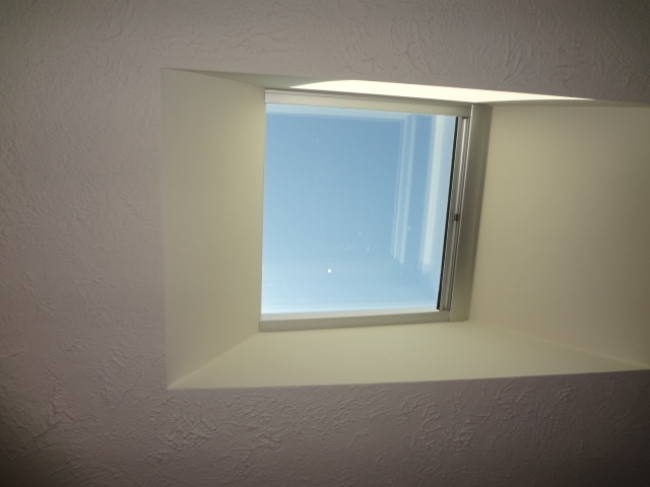
Begin by taking a walk around your mobile home. Look for gaps or crumbling caulk along all the joints and edges of your home. Check places that get a lot of use or wear-and-tear. Common mobile home maintenance is needed around places like skylights, doors, windows and many other places that are exposed to the elements.

If you’d rather be safe than sorry, we recommend re-caulking your home before changes in seasons. Simple holes around a door or window can lead to big problems down the road. So always be ready to caulk before the seasons change not after.
What Kind of Caulk Should I Use?
When picking the right type of sealant for a certain project or repair, asking some key questions will help narrow your choices to a few specific options. They are:
Q: Is my project indoors or outdoors?
A: Not all sealants are equal. Some caulks can take what the wild world (outdoors) throw down, while others are designed for a more domestic (indoors) lifestyle.
Q: What is the temperature of the area I am applying sealant?
A: Some types can handle extreme ranges of temperature. While others are meant to be applied in room-temperature conditions.
Q: Will there be any wetness around the area where you will be sealing?
A: If you don’t buy the right caulk and it gets wet, the caulk won’t seal out the water and may even crumble or fall apart.
Q: How difficult is the application process for a certain type of sealant?
A: Some types require more skill and preparation than others.
Now that you’ve considered these things, let’s look at the types of caulk available to you so you can pick the best “man” for the job.
Types of Caulk
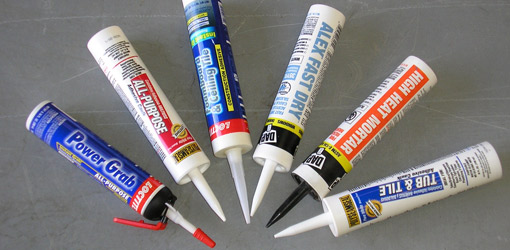
There are many varieties of caulk on the market, and the difference is more than just the brand name.
- Acrylic Latex (Painter’s Caulk): A best friend to painters, and also one of the cheapest types you can buy. You can use this type to cover holes and cracks before painting. Painter’s caulk work well in combination with porous interior building materials (drywall, masonry, wood, etc.). It also dries quickly (about 1 hour) and is easily cleaned up with a little soap and water.
- Vinyl Latex: Easy to clean up and apply like painter’s caulk, this kind of caulk is more durable and lasts longer. Certain types of vinyl latex have longer lifespans and can be used outside, but be careful of using it anywhere that expands and contracts with the changing weather since it is not very flexible.
- Acrylic Tile Sealant: This sealant usually comes in smaller tubes, about the size of a tube of toothpaste. It is often used for quick patch jobs for seals in wet areas. Acrylic tile sealants are more resistant to mildew and mold, but will not last too long if used for sealing around bathtubs or showers since those areas become wet too frequently.
- Siliconized Acrylic Sealant: With the mixture of silicon and acrylic, you get the ease and usability from the first option, and the strength and durability of the second option. It adheres to porcelain, tile, metal and glass extremely well.
- Butyl Rubber: A great option if you are sealing something that moves and is in direct sunlight. This is popular for sealing chimney flashings and gutters during roofing projects. Butyl rubber is also a go-to choice for foundations, where moisture and movement can be frequent. Just so you know, butyl usually gets all over you while using it, and it smells quite disgusting. Be prepared in advance.
- Asphalt: Asphalt sealant is often used for roofing projects. However due to how quickly it degrades in direct sunlight, asphalt sealant is usually used for sealing flashings, shingles, and other areas outside of the sight of Mr. Sun.
- Mortar Repair: I believe a 50’s advertisement for this would say, “That’s right folks, what we have here is the future! Better, stronger, and portable. Introducing tube-o’-cement!” Seriously though, it’s a tube of concrete that is very useful for filling in any cracks or gaps in concrete. This will probably be more useful to you if your mobile home is on a foundation.
- Fireproof Caulk: This caulk is used mostly around electrical wires and circuits in the home, to prevent electrical fires from spreading through open spaces in walls.
What are Some Tips for Caulking?

Caulking around mobile home is the most overlooked location.
1: WATCH THE WEATHER!
It is best to do your caulking when the weather is between 40 – 90 degrees fahrenheit. This should be the case of the surface temperature as well. Anything outside this range can cause issues with proper adhesion.
The temperature can also cause issues when caulking joints because they swell and contract during times of extreme temperature.
Dew and pollen can also be a culprit behind improper adhesion between the caulk and surface. Clean your surfaces carefully and try to choose a time of day when the caulk will have time to dry without any interference.
Rain or snow? Then don’t caulk.
2: PREP YOUR SURFACES!
In order to re-caulk a surface, you will want to remove the old caulk first. You can use tools such as:
- Putty Knife
- Painter’s 5-in-1 tool
- Heat gun (used for making old caulk softer and easier to remove.
Things like scum, dust, oil, dirt mold, etc. can get between your new caulk and the surface, ruining its “sticking” factor. You should always clean your surfaces first. Depending on what and where you are caulking, you may need:
- Steel Brush
- Wire Wheel (drill mounted)
- Cleaner (grease cutting, soap and water, etc.)
- Vacuum
Depending on what your caulking job is, your cleaning process may look a little different than others.
3: CUT IT OFF!
You should always cut off the nozzle of your sealant at a 45 degree angle. Also, figure out how far down the nozzle you need to cut by knowing what size bead (thickness of the caulk) you are applying.
4: PRACTICE MAKES PERMANENT!
Find some old newspaper, or some leftover cardboard, to practice applying the caulk. This should help you figure out how long you can apply caulk with one squeeze of the trigger.
5: LINE BY LINE!
Try to apply the sealant point in 2ft to 3ft segments before releasing the trigger. This will give you a greater coverage area per pull, but also leave you enough time to tool* the caulk before it dries.
6: TAPE IT!
Still not sure you can make a clear and clean line of sealant even after practice? Use masking tape, a strip on each side of your seal. Leave enough space between the two pieces of tape for the desired bead size you are looking for. Once you finish tooling, take off the tape, and now you have some fine lines!
7: STICK EM’ UP!
WIth the masking tape trick above, use a paint stick for tooling. Simply clip, or cut, the corners of the stick off so that it matches the size of the bead between the tape. Even tooling for cool looking seals.
8: CLOG BE GONE!
If you have an old tube of caulk that you were wanting to use again, but it is clogged with hardened sealant, cut the nozzle so that the new hole is just a little bigger than what it use to be. Then drive a deck or drywall screw into the nozzle. Deck and Drywall screws work best because they have coarser threads. Now pull the screw out, and with it will come the hardened caulk.
9: PUT A LID ON IT…OR A CAP!
If you still have a half-full cartridge, or you just need to take a break between stages of caulking, then there are two ways you can keep your sealant soft and ready for the next use:
- Drive a 2-inch nail into the nozzle. Wrap the nail and entire nozzle with aluminum foil or plastic wrap.
- Use plastic electrical connectors to easily seal and reopen the nozzle.
10: DON’T use oil based caulk near windows since they can cause windows to crack, fog, etc.
11: SHRINKING MAY OCCUR!
Some types of caulk (silicones and polyurethanes) may shrink once you apply your bead.
* Tooling is the process of smoothing out the sealant. This not only makes things look prettier but also increases adhesion!
Find other helpful tips and tricks here!
Shields Up and Defences Ready
With proper caulking, you can kick back and relax in your mobile home. No bugs, unwanted moisture, or heating and cooling your yard!
Be on the lookout for our next post on mobile home maintenance.
[related_post themes=”flat”]

