3 Ways to Texture Mobile Home Walls
Wall texturing is a very common and effective way to decorate and personalize a home. It is literally changing the “look and feel” of the walls. Do you want the rustic feel of a knockdown style? Or maybe you are tired of that monotonous concrete look and want a brick face?
The fun thing about texturing is you can create exactly the home you want, through minimal effort. And yes you can even texture mobile home walls!
Read the rest of the article for 3 inexpensive and easy ways to texture your mobile home walls.
Can you really texture your mobile home walls?
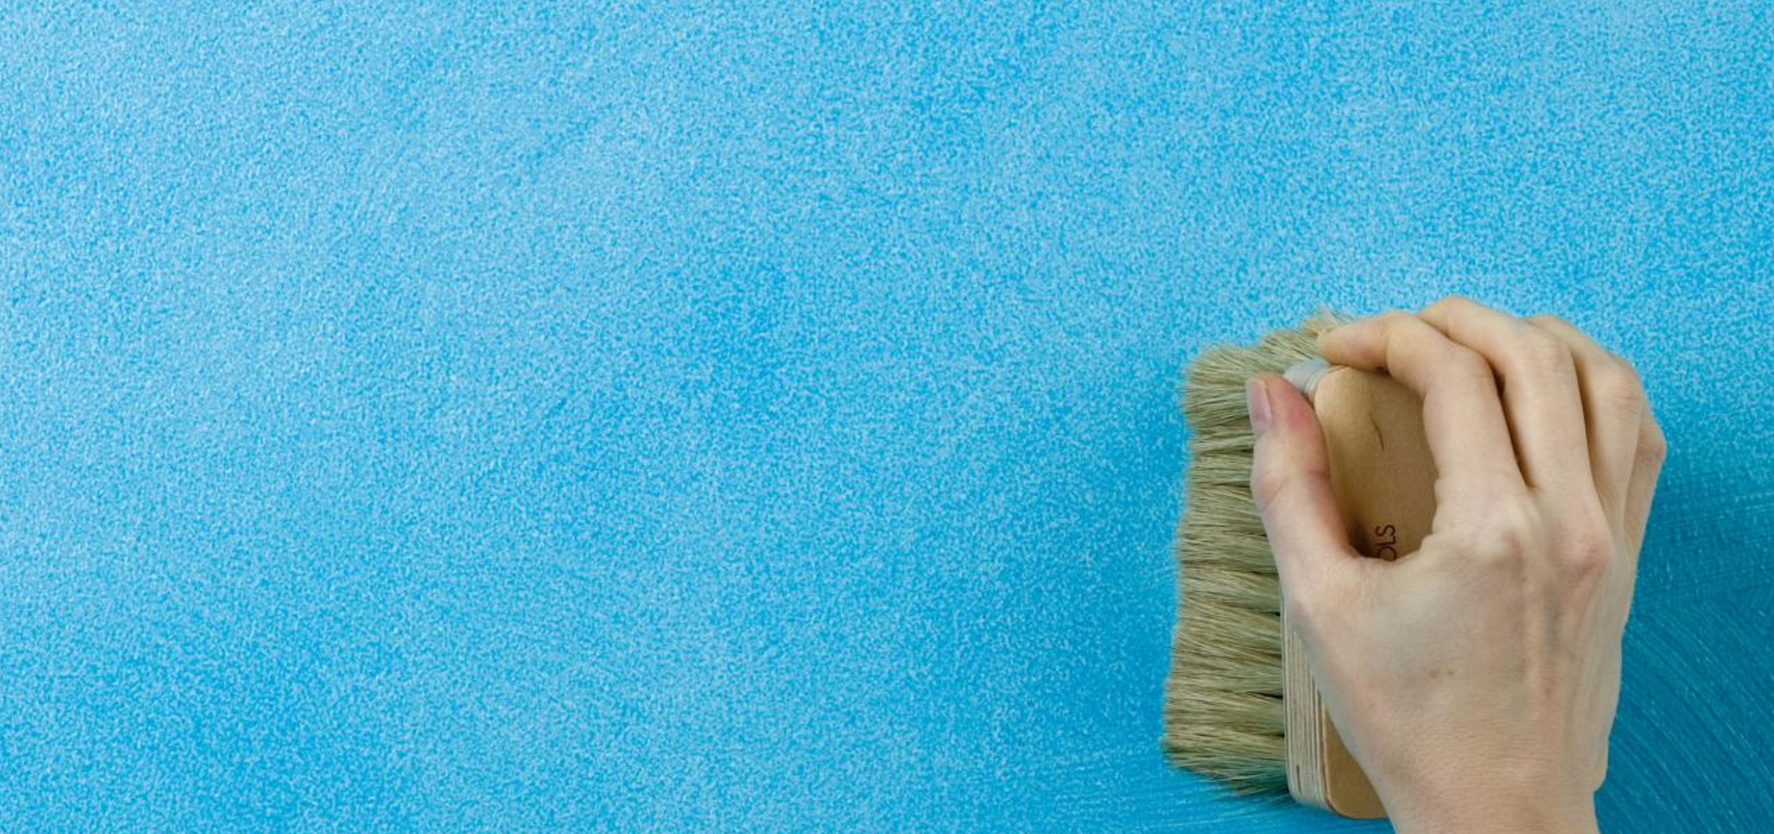
Image Credit: diynetwork.com
Yes!
The most common mobile home walls are made of either gypsum (drywall), VOG (vinyl on gypsum) or if you have an older model, artificial wood paneling. Make sure you know the type of wall your home has – it is crucial that you prep the wall correctly.
Beware that paneled walls might require some extra work based on the look you are going for. E.g. if you want a smooth surface, but you have wood paneling with grooves, you will need to fill these up first.
Look at the end of the article for a short guide on how to prep different walls.
What are the benefits of texturing your mobile home walls?
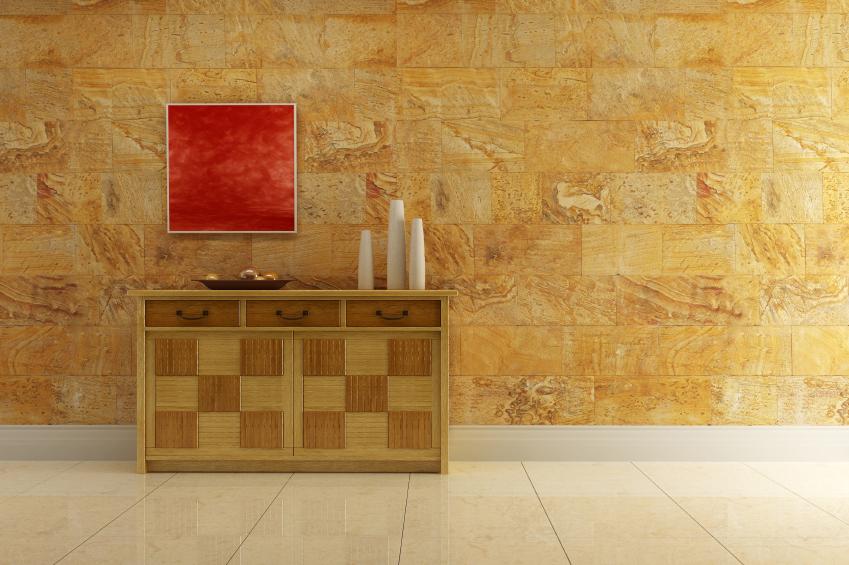
Image Credit: homeimprovement.lovetoknow.com
Texturing your mobile home walls doesn’t only make your home easier on the eyes, but it has a lot of practical benefits too. Here are just a few:
- Textured paints are very durable and add a good layer of protection to your walls. Likewise, texture wallpaper can also protect the underlying wall.
- It might not be easy, but removing textured paint is easier and has a much lower risk of damaging your walls than wallpaper.
- It adds some spice to the blandest walls.
- It needs less maintenance than walls with normal paint.
- Textures can help you hide any small blemishes on your walls without intensive repair work.
- It offers protection against alkali damage.
Sounds too good to be true right? It isn’t. Texturing the walls of your mobile home is a great, inexpensive way to make it feel more like a home.
What kind of texturing is available? Which one is right for me?
Textured paint Overview
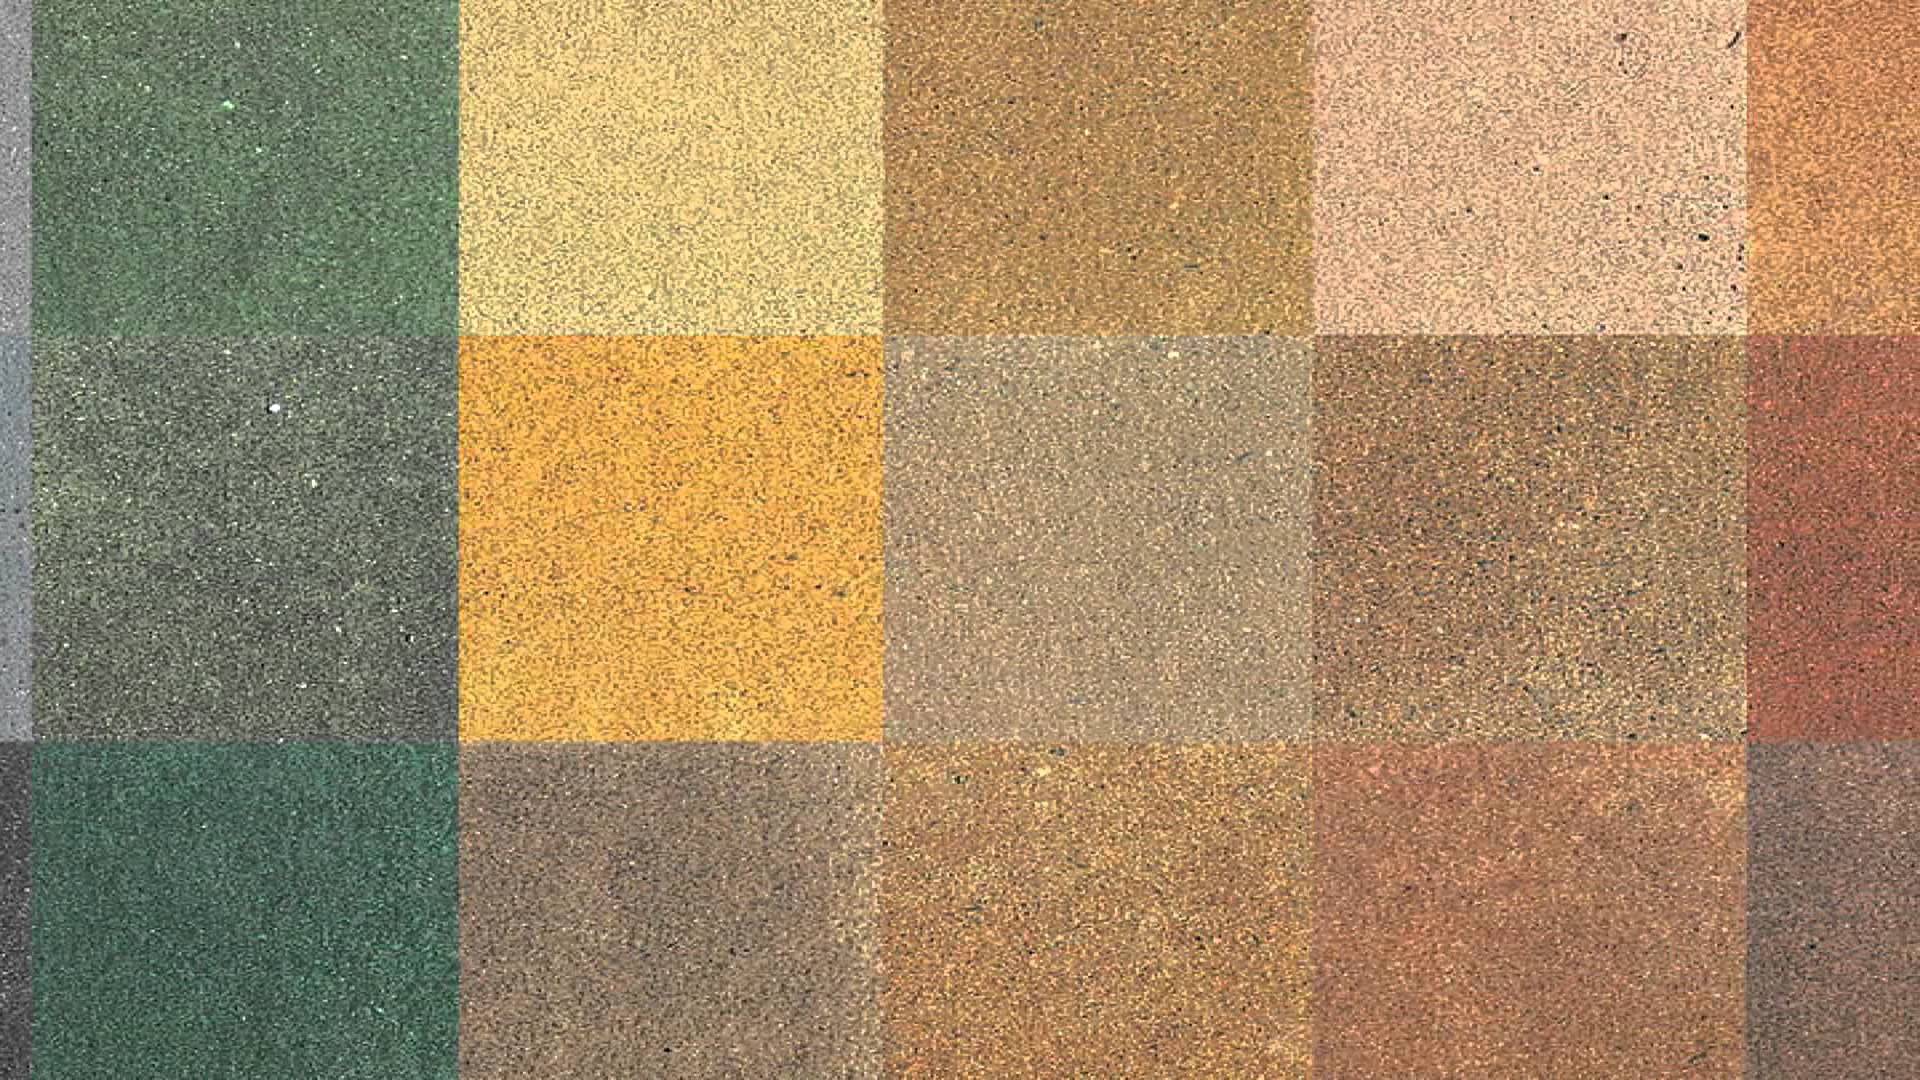
Textured paint is the easiest and least expensive method to texture your mobile home walls. You will be surprised at the textures that can be achieved by simply using paint.
If you think there is any special “trick” to textured paint, rest assured. You can buy a premix or make a simple mixture of silica sand and paint. Just apply it and watch the magic happen.
Here is a great guide on our site that covers mobile home painting.
Preparation is key to a great textured mobile home wall!

You will need all these items to texture paint your home, so no matter which option you go with make sure you have these:
- Measuring tape- Use it to get the dimensions of your wall so you know how much paint to buy.
- Waterproof or latex paint- Stick to waterproof or latex paint when texturing. Other paints don’t mix well with silica sand and might turn runny. They are also very durable paints. Your paint can be any color or finish (gloss, semigloss, eggshell or flat).
- Drop cloths/tarps – Protect your floors and furniture from paint splatter and spills. Do not proceed without them!.
- Screwdrivers- Use this to remove and electrical outlets or switches from your walls. Flat head screwdrivers also make great paint bucket openers or paint stirrers.
- Sponge- To clean the walls before painting.
- Blue painter’s tape- Apply this on any trim and walls that you will not be painting.
- Black bristle paint brush- The best brush to apply textured paint, because it’s stiff and has better abrasion wear.
- Paint roller- Save a lot of time and effort by painting large surfaces with the roller.
- Roller cover- Different roller covers give different textures. Keep this in mind:
- Nap size: Generally you use a 1-inch nap roller for textured paint. If your wall has a rough texture or you want to create a rougher texture us a long- or sheepskin nap. For smoother surfaces or to create a smooth finish use a shorter nap. You can always apply one coat and then use another nap to get your desired effect.
- Looped roller – These rollers are made to hold textured paint. They also come in different lengths for different degrees of texture.
- Roller tray- Most effective way to reload your roller with paint.
- Stirrer- Stirring your paint before actually painting is a must! If you don’t have one a metal/PVC rod or screwdriver will work.
Steps to complete before you start to paint:
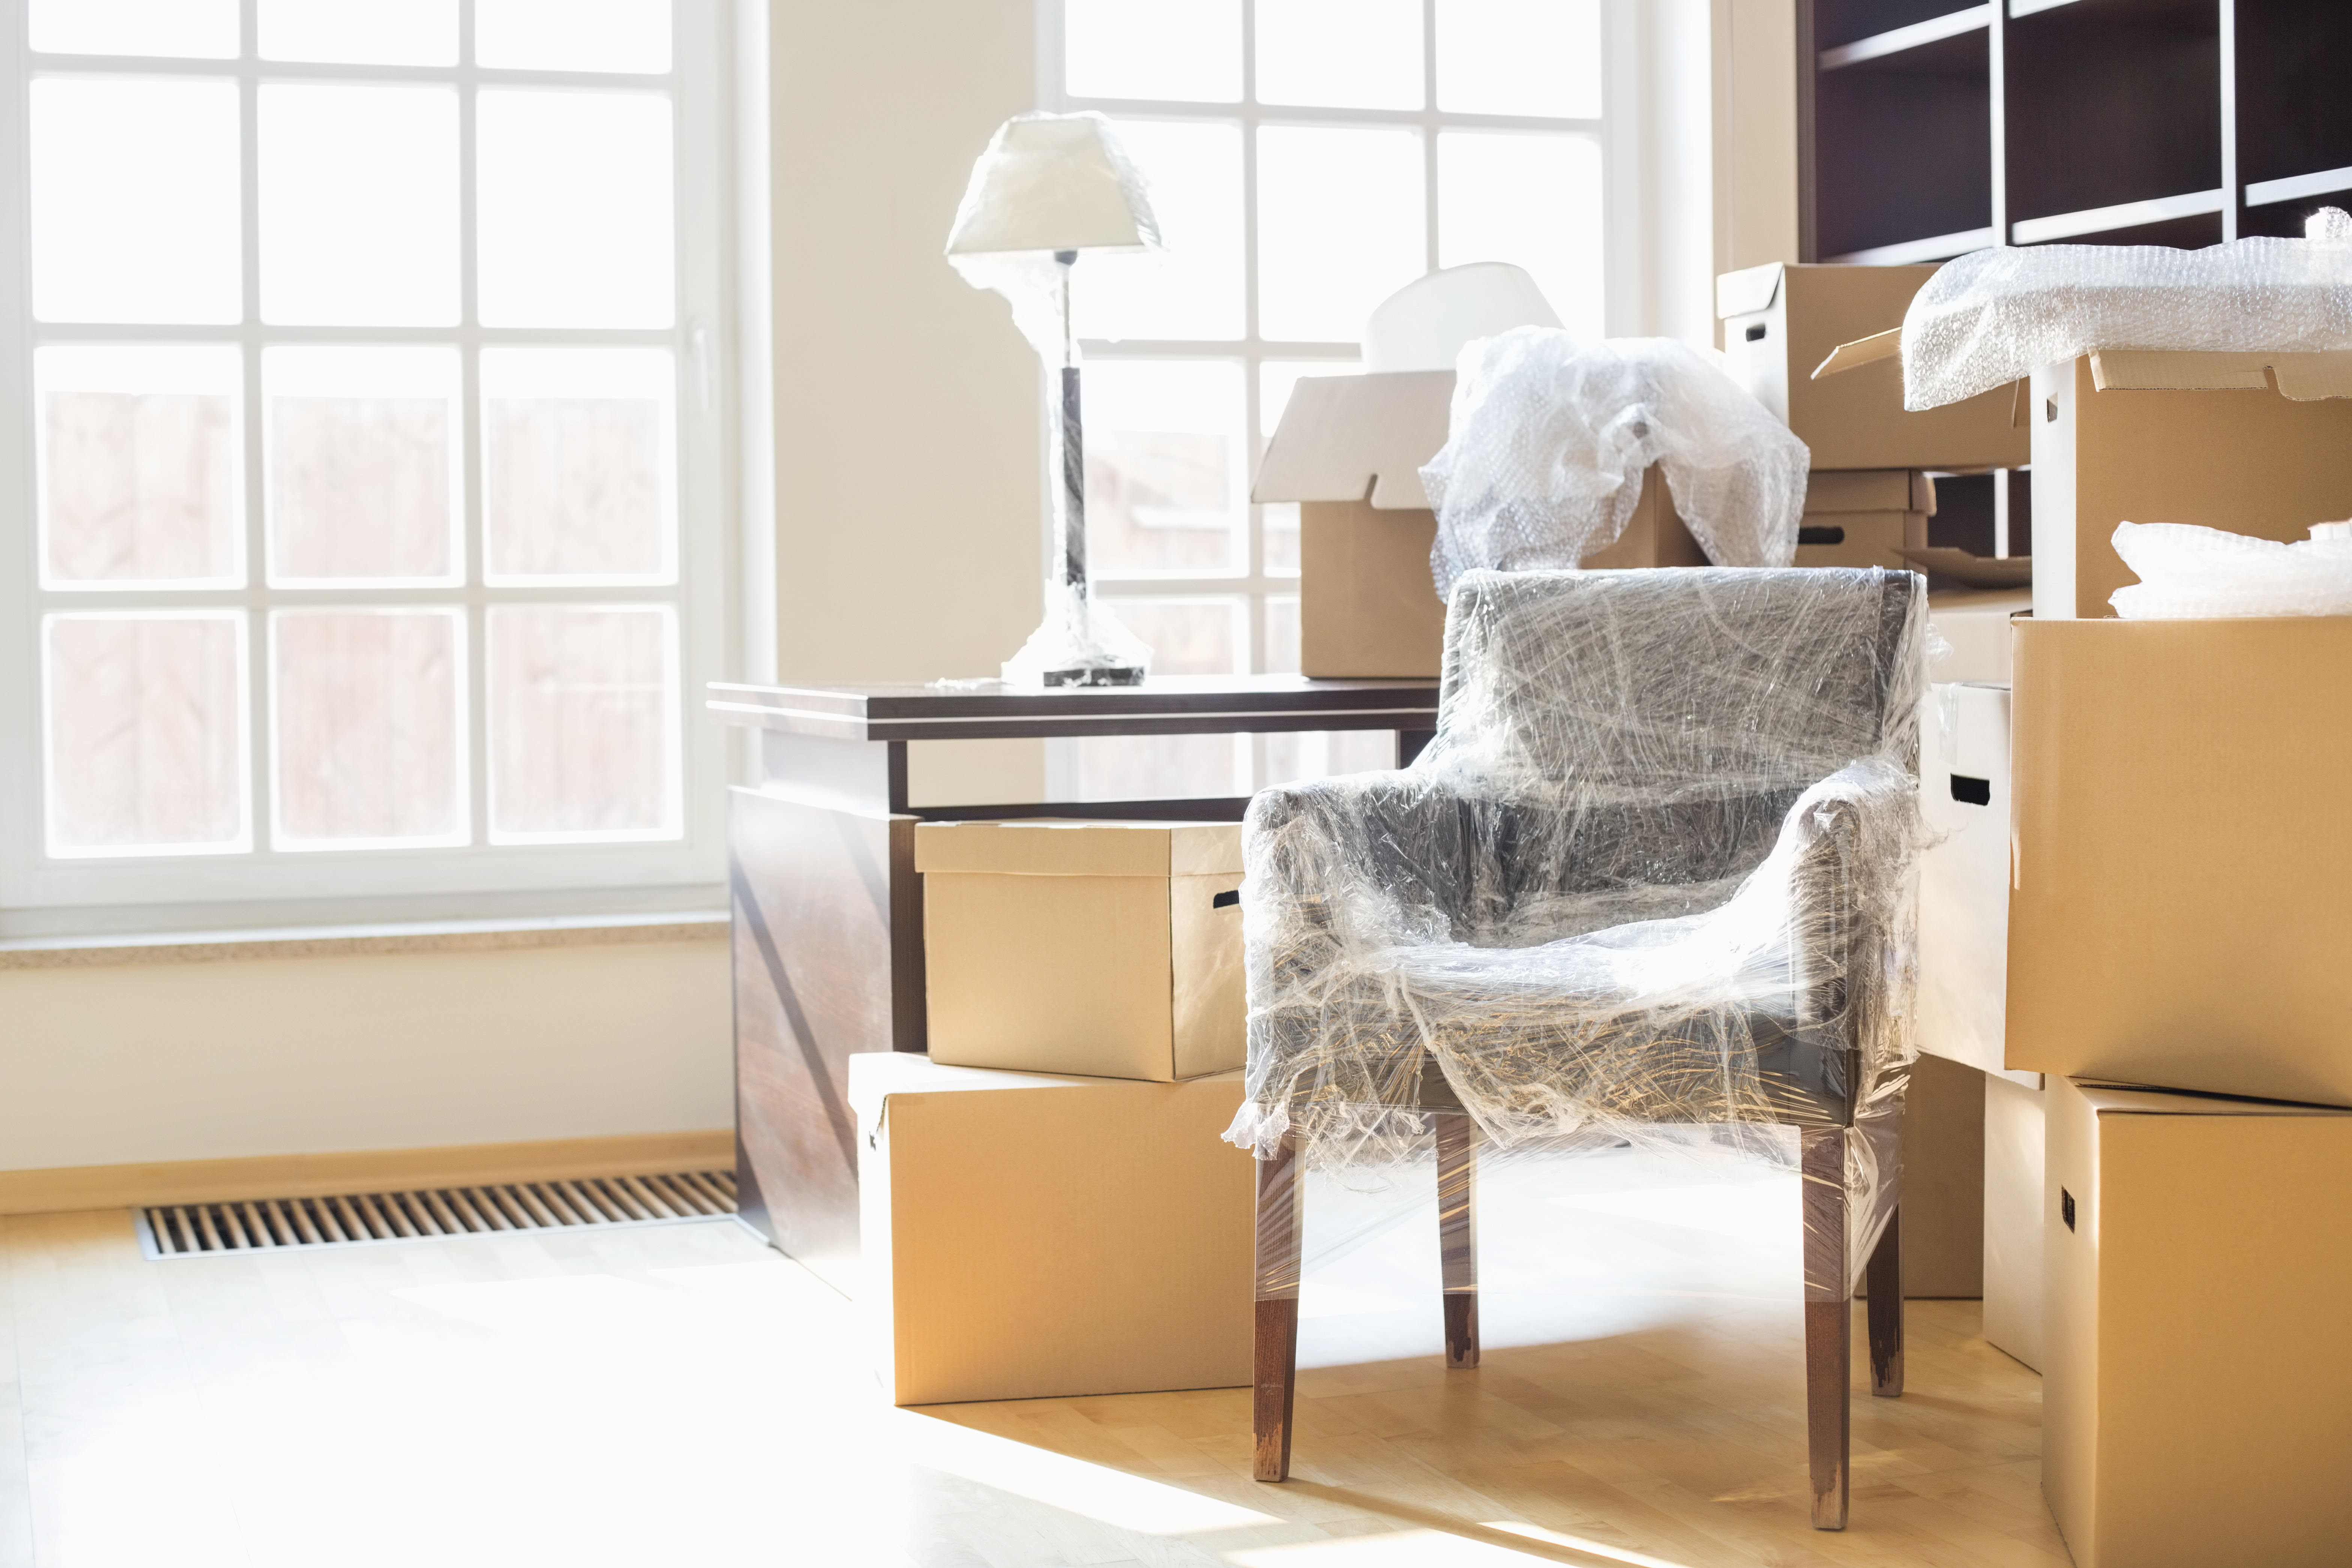
Step 1: Remove any loose furniture, paintings or wall hangings from the room you are about to paint. Not only can paint splatter on them, but they are unnecessary obstacles. You can also cover your furniture with plastic, or move them to the center of the room.
Step 2: Lay down the drop cloths over the floor. Stop paint leaking underneath and movement by taping them down.
Step 3: Unscrew and remove all your electrical socket and switch plates. It is much easier and neater to paint underneath than to try and paint around.
Step 4: Use a sponge and a few drops of water plus dish detergent to clean the walls.
Step 5: Tape up the room. Make sure you cover any corners or sides bordering the areas to paint. It will be easier and neater to use short lengths of tape that overlap.
Step 6: Arrange all your paint buckets, trowels, and painting equipment beforehand. The last thing you want to do is stop in the middle of painting to look for a suitable brush.
Now that your room is ready, let’s start painting!
Silica sand and paint mix
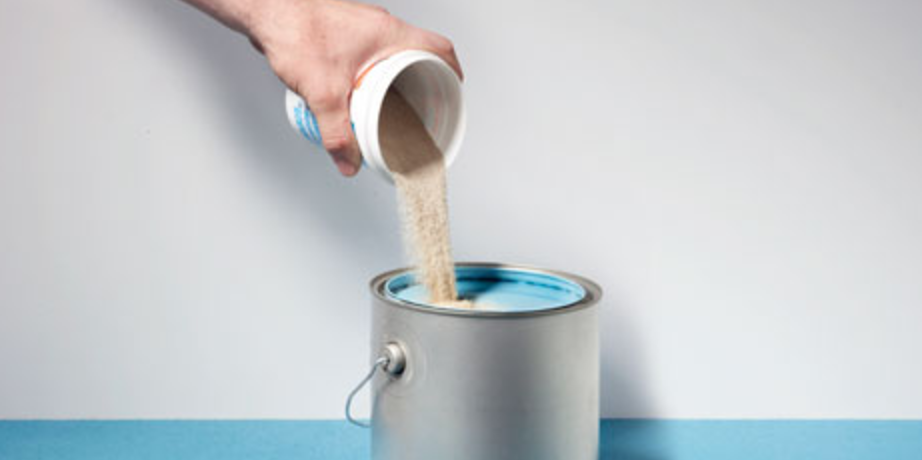
This is the easiest and most bulletproof way of texturing your mobile home walls. All that you need is to mix some silica sand and paint to the desired consistency. Once that is done you can paint as normal.
What will you need extra?
Silica sand: Do not attempt to use normal sand. Other sand most likely has impurities that will lower the performance of your paint. Silica sand usually comes in packs sized for a gallon of paint. As an extra tip ask your supplier if they can machine-mix the sand and paint for you.
Texture your walls using silica sand
Step 1: Thoroughly mix a bag of silica sand with the paint inside a roller tray. Don’t mix too much at once as the paint should not dry between applications. Add more sand for a coarser texture, but do not worry about getting it perfect right away. That’s what the second coat is for!
Step 2: Roll the roller cover in the mix to completely coat the nap in paint. Paint in vertical lines from the top down. Keep this in mind:
- Don’t let a painted patch dry before continuing as this might cause paint seams that are hard to hide.
- Make sure to take care of “paint drips” running down the wall.
- You can apply layer on layer with different textures, but try and keep each layer as consistent as possible.
Continue adding layers until you reach the texture you desire, by moving gradually up in roughness/smoothness. Just make sure that the whole wall has a consistent texture by the final layer!
Give your wall a natural shine using glaze
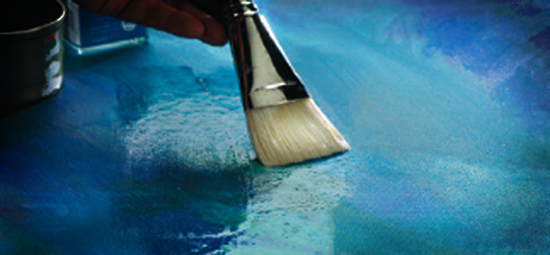
Image Credit: willkempartschool.com
A glaze gives you a lot more options than to simply adjust the roughness of the paint. As a glaze suggests, it’s a slightly transparent layer over your base paint. You can create stencil shapes, stains or sheets.
Note that you can even apply glaze over already-textured walls for more interesting effects!
Glaze styles, like an antique faux glaze or tea stains, give a vintage feel. Other techniques like sponging, ragging, and combing can create more fun looks. They can also be great fun for kids!
What will you need extra?
Drywall or plywood practice board: We highly suggest that you practice your glaze pattern beforehand. Experiment on a disposable board until you find the right balance of color, pattern, and shades.
Paint: If you plan to glaze, it’s best to stick with latex paint. Also plan your colors beforehand. It may be a good idea to talk to someone that knows paint and color palettes. To be safe, stick to a base paint color that has a sheen finish like eggshell or satin. Then choose another paint from the same color chart with a darker shade. If you want to be more colorful, use different colors for the base and glaze. Just be sure to experiment beforehand.
Sponge/sponge roller/cloth or comb: We weren’t kidding when we said there are a lot of options to texture using a glaze. Any of these can be used to create a myriad of interesting effects. Try sponges with different densities and shapes (you can even cut your own shapes!). Any rag will do as long as they don’t shed.
Latex gloves: Protect your hands from paint and glaze.
Texture walls using a glaze
Step 1: Apply your base coat of paint to the wall using a roller and brush.
Step 2: Mix the glaze and paint you chose as your glaze color. The more glaze you add, the more diluted the color will be, but the greater the sheen. A 1 to 1 ratio is perfect for a tea stain effect.
Step 3: Now comes the fun part! In a two to three square foot area apply your glaze. While it is still wet, use the sponge, cloth or comb to remove some glaze by dabbing or smearing it. Don’t worry too much about drying as the uneven texture and base coat should mask any seams.
The key to the final step is to use the practice board and be creative!
Try these:
- Use a comb to make criss-cross patterns or arcs.
- Twist up a rag dipped in paint and roll it on the wall for an interesting pattern.
Textured Wallpapers:
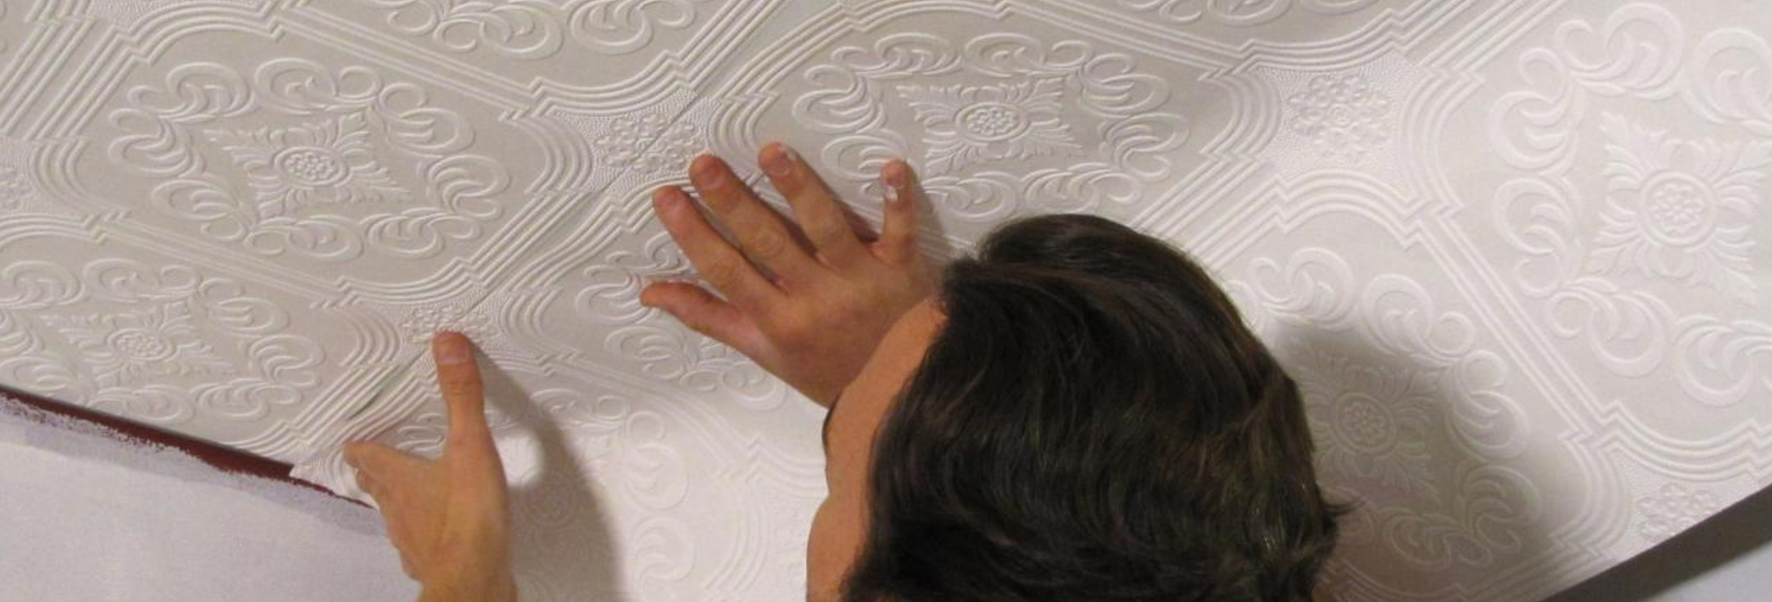
Image Credit: diynetwork.com
Textured wallpaper is also a cheap and easy way to texture your walls. If you want a more geometric or professional texture than the painted texture offers, then this is for you.
Shop around online for some designs. Dulux is a popular supplier of textured wallpaper. They have gone out of their way to make it an easier process.
One of the downsides of textured wallpaper is that there is a chance of damaging the wall beneath when removing it.
What will you need?
- Craft Knife/scissors- Use a craft knife or scissors will to trim excess wallpaper and cut it into usable sheets.
- Paint roller and tray- For your wallpaper paste.
- Primer- If you haven’t primed your wall earlier you will need to prime it now.
- Spirit level- This tool is useful to draw straight lines down the wall.
- Pencil- To put helper marks on the wall to help apply wallpaper straight.
- Bucket- Have a bucket of water handy.
- Damp Cloth/Sponge- Use the sponge to clean the wall and wallpaper.
- Ruler- Use a ruler to measure out areas to apply the wallpaper piece by piece.
Preparation
Step 1: Be sure to prepare your wall following the instructions earlier in this article.
Step 2: Remove all your electrical switches or sockets.
Step 3: Apply a primer to your wall. The wallpaper paste can soften latex paint and turn it runny which will cause bubbles and unevenness.
Step 4: If your wall isn’t newly primed, wash it using a sponge and water with dish detergent.
How to apply textured wallpaper:
Step 1: If your wallpaper comes in separate sheets, take note of their breadth. Hold a ruler horizontally to the edge of the wall and make a pencil mark that’s a few inches wider than the sheets. Hang the spirit level from the mark to make more marks in a vertical line. Repeat this until you are confident you can apply the wallpaper straight.
Step 2: Pour the wallpaper paste into the roller tray. Using a roller and paint brush apply the paste to the wall in the marked area.
Step 3: Take a sheet of wallpaper and apply it over the area using the marks as a reference. Cut the sheet to a size where it overlaps the marks/roof/floor with the scissors or craft knife. Where the wallpaper meets an electrical socket or switch, mark the corners on the wallpaper. Cut diagonally from corner to corner. Apply the wallpaper around the plate and cut off the flaps.
Step 4: Use a damp sponge to smooth out the wallpaper by stroking it from the center outward.
Step 5: Repeat step 2 – 4 for all the sheets until you’ve covered the whole wall. Make sure the wallpaper pattern flows from sheet to sheet.
There you go! Once the wallpaper dries you can paint it any color you want. Most wallpapers allow to be painted but refer to your specific wallpaper to see what paint it was designed for.
How to prep different surfaces for texturing:
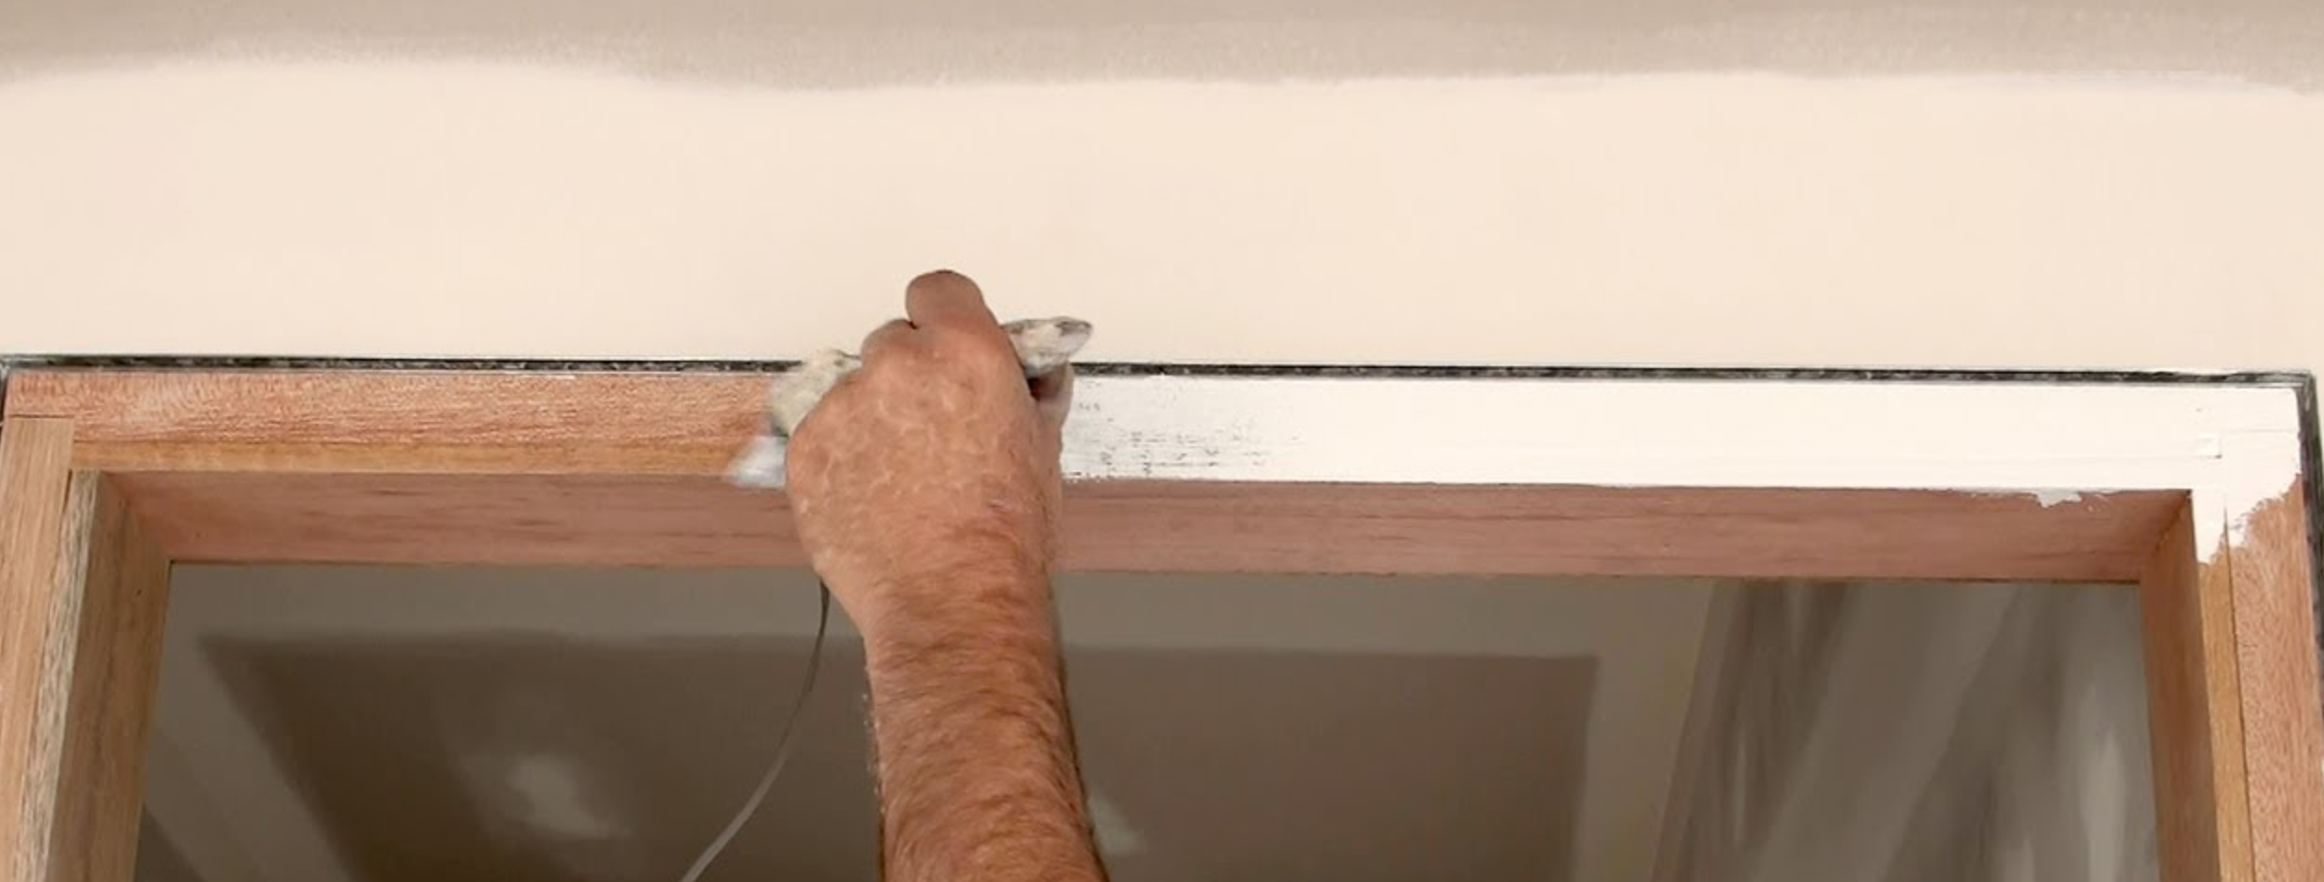
Drywall
Paint doesn’t adhere very well to drywall, so if your drywall is unfinished or unpainted, you will need to prime it. A self-priming paint will work well if your wall is in excellent condition. Just keep in mind that the self-priming paint should be as close to the color of your base paint as possible.
Painted Walls
If your previous coat of paint is peeling, then you will need to remove the peels, use putty to cover the damage and then sand it down. You will never regret priming before a new coat of paint, but if your new paint is a similar color, then it isn’t essential as long as you use at least two coats. If you want to apply wallpaper, priming is a must.
Here is a handy guide to repainting a wall.
Paneling
Wood paneling has fallen out of favor in modern days. Not only does it make your house dark, but the look is becoming outdated. You can use wood filler to fill in the seams between the panels. Click here for step-by-step instructions and a how-to video. You will need to use a primer on the panels or use self-priming paint as a base layer before applying a texture. The same goes for vinyl panels. Here is a guide on updating vinyl panels. If you are unsure consult a professional.
Wallpaper
Luckily you won’t need to remove all of the wallpaper. Check your wallpaper first for any damage. If there is, you will need to repair those areas first. Removing your wallpaper can badly damage the underlying wall, so take your time. First peel off the loose pieces using a utility knife. Apply a primer to the areas you peeled and let it dry. Apply some drywall compound to the primed area and sand it down to be level with the rest of the wall. To finish it off, paint the whole wall with another layer of primer. When the primer has dried you can either paint a base layer or apply your new textured wallpaper.
Happy Texturing!
With all of these ideas and helpful tips, you can get your latest home renovation off the ground in no time. Have fun updating your walls to get that new, textured look!
