What Are Mobile Home Wall Strips And How To Remove Them?
What are mobile home wall strips and how to remove them?
If you own a mobile home or are looking to buy one you have probably noticed wood or plastic strips down the walls. What exactly are they?
We call these little eyesores, “wall strips” and they can be a real obstacle to anyone who wants to replace the mobile home feel with a more traditional one. It is every owner and prospective buyer’s dream to turn a mobile home into their own, so what do you do when faced with these strips?
In this article, we will explain what these strips are and give insight on how you can remove/replace/integrate them into your new home design.
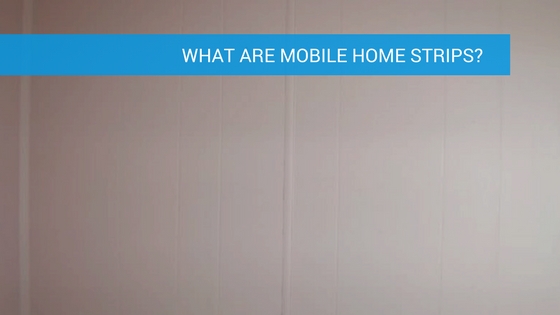
What are mobile home wall strips and why are they there?
As the name manufactured home suggests, these homes are assembled piece by piece in a factory. The walls can be made up of a variety of materials. In the old days, it was artificial wood paneling. Nowadays homes are made of either gypsum boards (of which there are a few different types) or vinyl panels.
If you want more info, read this article: Mobile home walls.
The walls of a mobile home are made from these panels because it is easier to transport and assemble them, as compared to a huge panel for each wall. Unfortunately, seams are visible wherever the panels are joined.
This is where wall strips come into play! Not only do they hide the seams but they also allow some flexibility during transport. Mobile homes also move slightly after assembly in the wind or as the panels expand from heat and contract from cold.
Not all mobile homes have these strips. If your mobile home is made of drywall or wood paneling it most likely will have wall strips. In some vinyl walls, the layer of vinyl completely covers the seams.Your home walls might also be covered with wood paneling or ceramic tiles in which case you have nothing to worry about.
A VOG (vinyl on gypsum) wall with batten strips:
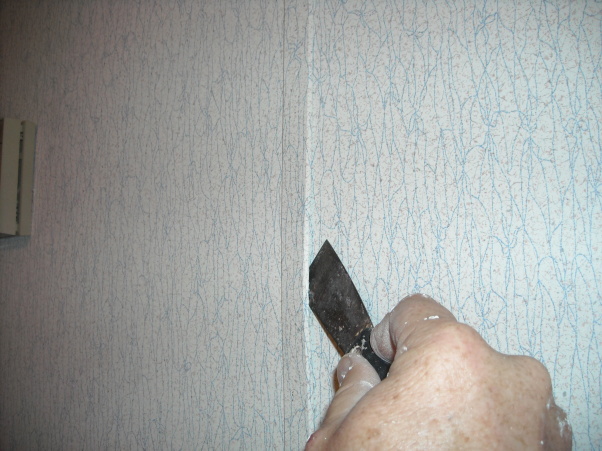
Drywall home with wall strips:
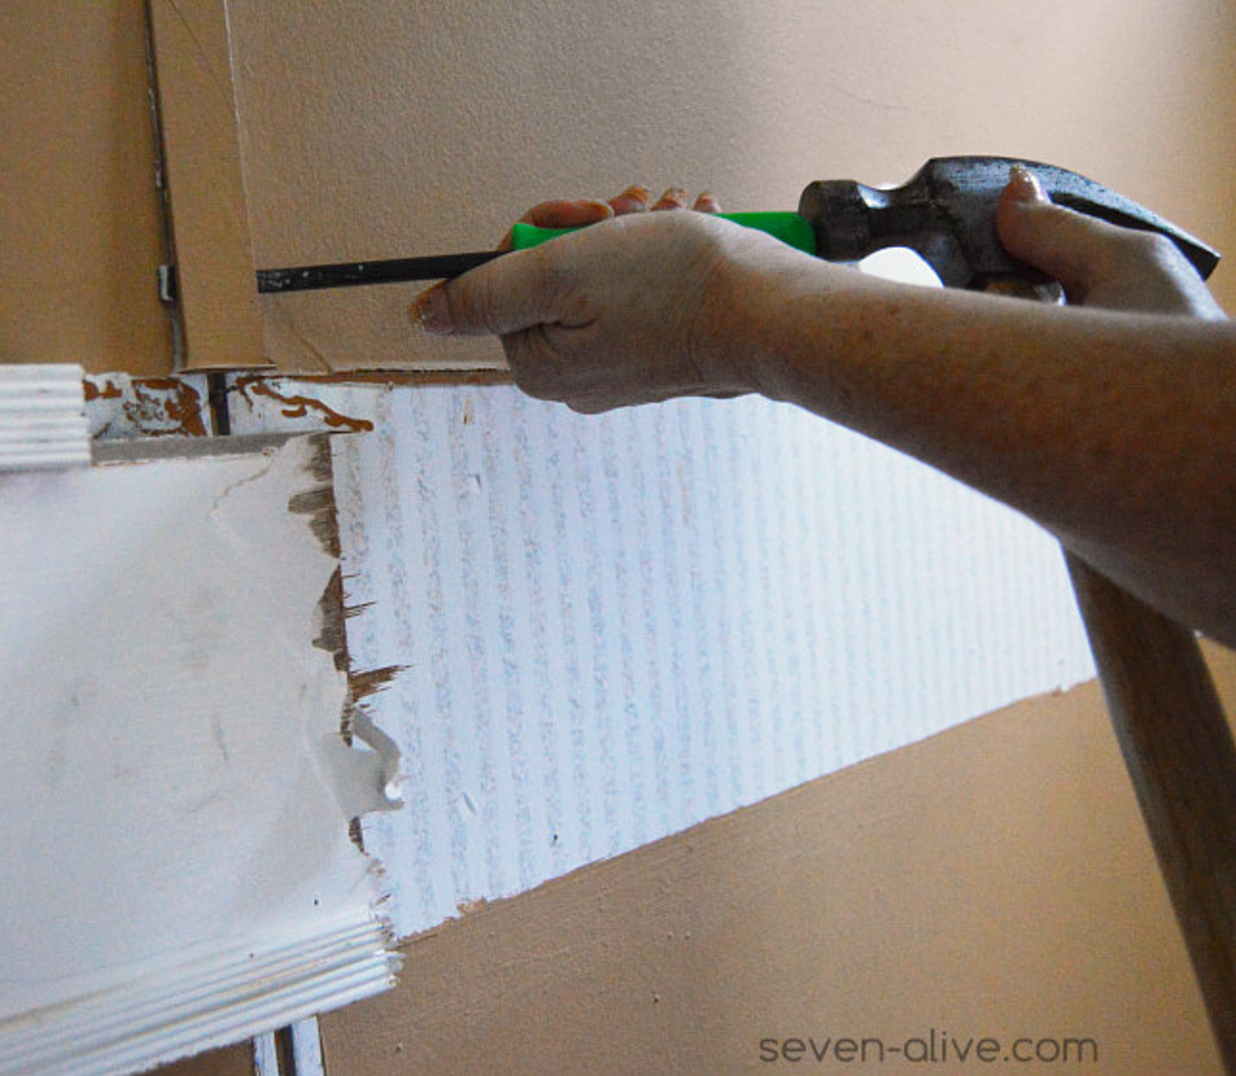
Image credit: seven-alive.com
These wall strips are usually made of some form of plastic or wood. It is rare to find metal wall strips. They can be fastened to the wall with a variety of methods, but usually, nails, staples or tacks are used.
So as you can see they are not there because mobile home manufacturers have bad taste, they do serve a purpose!
Can I remove wall strips from my mobile home?
Yes! Many mobile home owners have already done this as part of their interior design, especially when they want to remove the “mobile home feel”. Fortunately, you don’t need to hire a professional. It can be done as an intermediate-level DIY project.
In the following guide, we’ll focus on gypsum (drywall) homes as these are the most common type. There are some alternate solutions for vinyl walls. If your walls aren’t drywall or vinyl, then you might need to adjust your process a little, but it should be fairly similar.
The typical process goes like this:
- Remove the wall strips.
- Use a drywall compound or similar substance and wall repair tape to hide the seam.
- Do the same to all or other parts of the wall if needed.
- Sand down the area to be consistent.
- Prime the area and the wall in order to paint, wallpaper, texture, etc.
This seems like a lot of work! Can I just cover the wall strips?
Of course! There are a few methods you can use to achieve this. If you worry about removing the strips or you are not prepared to go through the whole removal process you can still integrate them by planning carefully.
Here are a few solutions:
- Paint over the wall and strips. Dark colors will make the strips less visible than bright colors, but they will still be noticeable. If the strips are a different material than the wall, you might need to prime it before you paint, e.g. metal on drywall or wood on vinyl. A better option might be to paint your wall one color and your wall strips a different one.
- Wallpaper over the wall and strips. The effectiveness of this is also very dependent on the type of strips. If the strips are rectangular and protrude a lot it will be hard to apply the wallpaper so that it sticks and doesn’t bubble at the corners. Using wallpaper with vertical stripes or that is ornate can help disguise the strips.
- Go for a “board and batten” finish. You can integrate the wall strips in your design by fixing boards vertically between them and using the strips as a separation. This will make them appear part of the pattern. For this to work you will have to take very careful measurements of the boards’ width and breadth and have them cut to specification.
- Completely cover the walls and strips. The easiest way to do this is to use corrugated steel plates or wooden boards/planks and cover the entire wall and strips with them. This will require a lot of hard work, like drilling and fixing the covers permanently. If this sounds good to you, look here to get started.
As you can see, the first two solutions are very easy, but if you were hoping to completely rid yourself of the wall strips this won’t be enough.
If you want to rid yourself of your wall strip issues permanently, keep reading the following section.
How to get rid of mobile home wall strips:
As we mentioned before the actual shape and size of the wall strips might differ, but the steps to remove them will be similar.
A couple of things before you get started:
- When removing the strips be careful that you don’t damage the wall panels.
- Watch out for sharp objects like nails or staples that might be lying around.
What you will need:
-
- Flat head screwdriver (optional) – You will use the screwdriver to loosen the wall strips.
- Putty/taping knife – This is for applying the solution to the wall. You can also use the knife to loosen the strips.
- Pliers/Hammer – You can use any one of these to remove the nails/tacks or staples from your wall after removing the wall strip.
- Wall repair tape or fiberglass mesh tape – It’s very important to support the compound with tape. Without this, the compound will inevitably crack over time as the panels bend. Here is a perfect example.
- Drywall/joint compound or spackle – For this purpose either the compound or spackle should serve just fine. You don’t need tape for spackle, but it is usually much more expensive than drywall compound even if you add the cost of tape. Both come in pre-mixed or powdered form and it’s really up to you which one you choose.
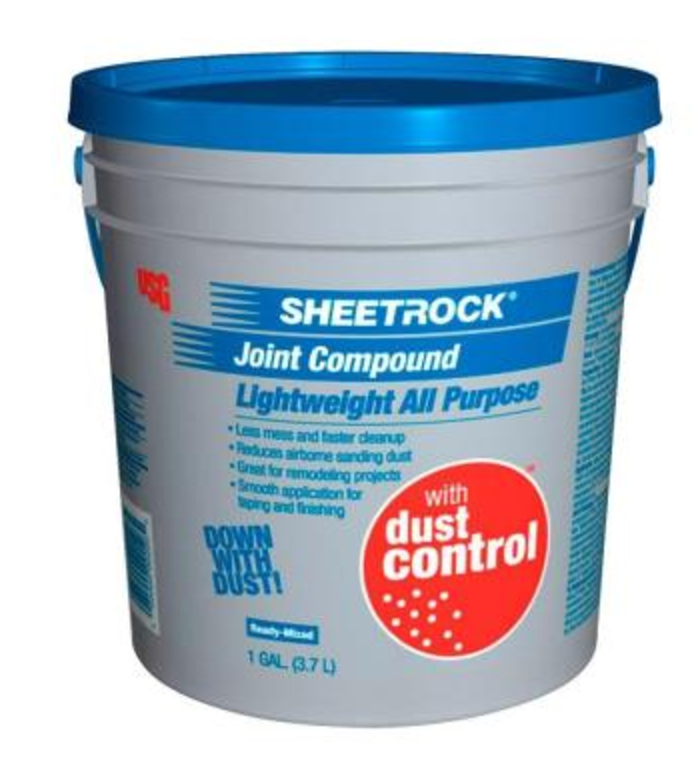
Image credit: Home Depot
If you have a vinyl wall you can also use acrylic caulk. You will have to use a primer before applying the caulk. It is more effective at hiding the crack than drywall compound if you have a vinyl wall.
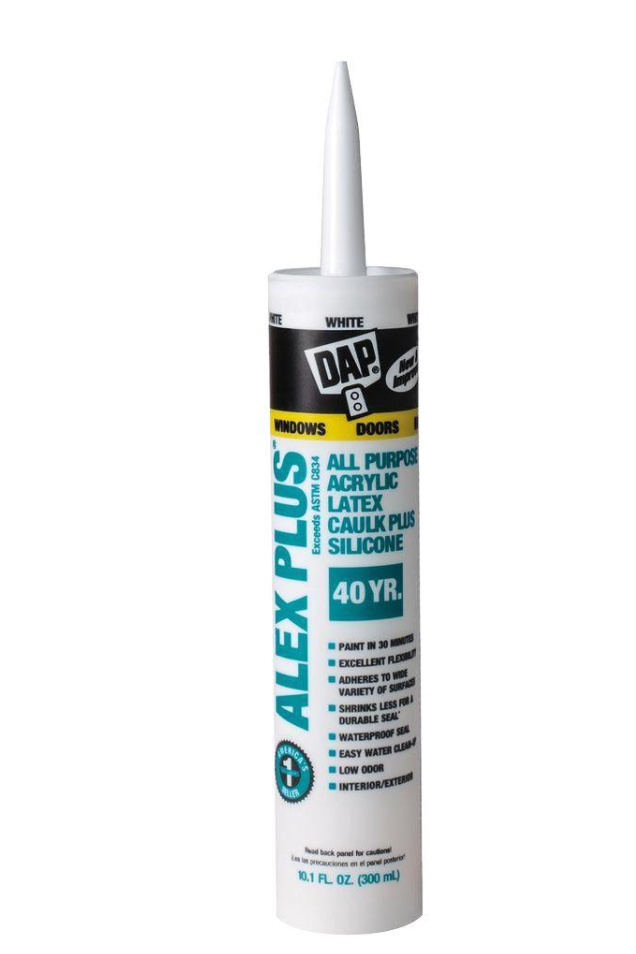
Image credit: Home Depot
- A few 5L-10L containers – You can mix your compound in here if you bought the powdered version.
- Some small containers – This is to keep the nails or staples from lying around where someone can step on them.
- Plastic sheet (optional) – Spread this beneath your work area to keep your floor clean.
- Ladder – Use this if your walls are higher than you can reach.
Medium and fine grit sandpaper – The sandpaper is used to smooth the area of the compound or spackle to be consistent.
Difference between vinyl and drywall
Don’t worry, the process is mostly the same. When it’s necessary, we include how the process differs for vinyl at each step.
Let’s get going!
If you have all the items on the list above, it’s time to get started. Stay with us and soon those wall strips will be a thing of the past. Dream mobile home, here we come!
Preparation
Working smart is better than working hard. So follow these steps first to make the process much easier:
- Spread your plastic sheet below the area you intend to work. You can now bring in your compound or spackle and mix it inside without fear of spilling.
- Mix only as much compound as you can use in roughly 30min. After this the compound will start to dry a little and might form blobs.
- Use the screwdriver/knife to work your way between the strip and wall and try to wedge it off. See which one works best and stick to it.
Remove the wall strips
- Step 1 – Set up the ladder and start at the top. Try to wedge the screwdriver/knife in between the wall and strip. Pull the strip from the wall using a wedging action to loosen it. Try from both sides until you succeed.
- Step 2 – Move your way down the wall strip, loosening it wherever it doesn’t simply pull away from the wall right to the bottom.
- Step 3 – Carefully remove the wall strip. Take care to notice any loose nails or staples so you can collect them before someone gets hurt.
- Step 4 – Depending on the way it was fastened, the nails or staples might be in the wall strip. Most likely they will still be in the wall.
There are a few ways you can remove them:
- Staples:
- Try and wedge the screwdriver between the staple and the wall. Loosen it a little and then use pliers to remove them completely.
- Nails:
- Use the back side of the hammer. Slide the prongs on either side of the nail’s head and use the head of the hammer as leverage to pull them out.
You can use any combination of techniques (with the right tools) to remove the fasteners if they are stubborn.
- Step 5 – Once all the nails/staples are removed it’s time to clean the area using a cloth and some water. This doesn’t have to be thorough, just remove the loose dirt. If you have vinyl walls you can also use the medium grit sandpaper to roughen the area before applying compound.
The seam should look something like this:
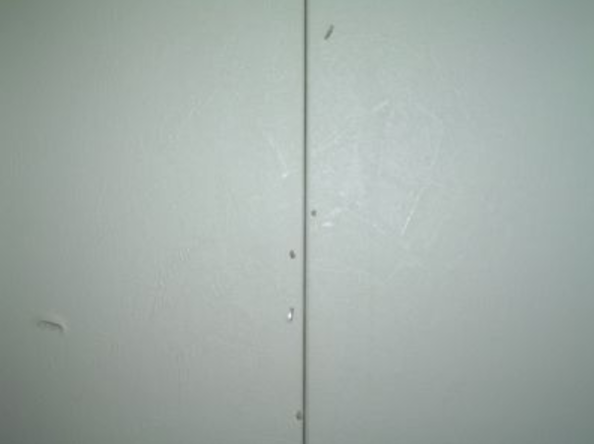
If you have a vinyl wall and bought the acrylic caulk, skip steps 6 – 8.
-
- Step 6 – If you did not buy pre-mixed and have not done so yet, it’s time to mix the compound. You have to use it all shortly after mixing so be sure to only make enough for one wall strip at a time. Scrape some up with the taping knife and apply it to the seam and holes using almost a brushing motion. You can apply generously and roughly at first and then go over a second time to smooth it out.
- Step 7 – Take the tape and climb up the ladder. Starting at the top tape over the drywall right on top of the seam in a straight line. Then use the knife to flatten out the tape in the same brushing movements.
- Step 8 – If you are very worried about cracks or you are a perfectionist, then repeat step 6 and 7 until you are happy. 3-5 times should be enough.
*Acrylic caulk – Squeeze a drop of acrylic caulk in between the seam or crack. Work it in with a small taping knife or a wet finger. Repeat the process for the entire seam. You can use an old credit card or putty knife afterward to scrape away excess caulk and smooth it out.
-
-
- Step 9 – Wait for your compound to dry. Spackle should dry in a few hours whereas drywall compound could take 24 hours. After this, sand down the spackle using the medium grit and then the fine grit sandpaper. Try and get it as close your wall as possible without exposing the tape.
- Step 10 – This step is optional if you are not happy with the results. Some people just apply the compound to the whole wall and sand it down together. This is a lot of effort and might take a long time, but is probably the only way to achieve perfection.
-
And there you have it! You have just taken care of your wall strip infestation and are well on your way to redesigning your walls any way you see fit.
Going forward
Doubtless, you will now want to paint, wallpaper or texture your “new” walls! You definitely don’t want to leave your walls bare and the compound visible. Lucky for you the compound shouldn’t have any problems holding paint or glue. If you have vinyl walls, just make sure you prime it before you paint. Read this article on our blog to help you paint your walls: Painting Mobile Home Walls Mobile Home Caulking is a complete guide to caulking on our blog.
